Monday, April 2, 2007

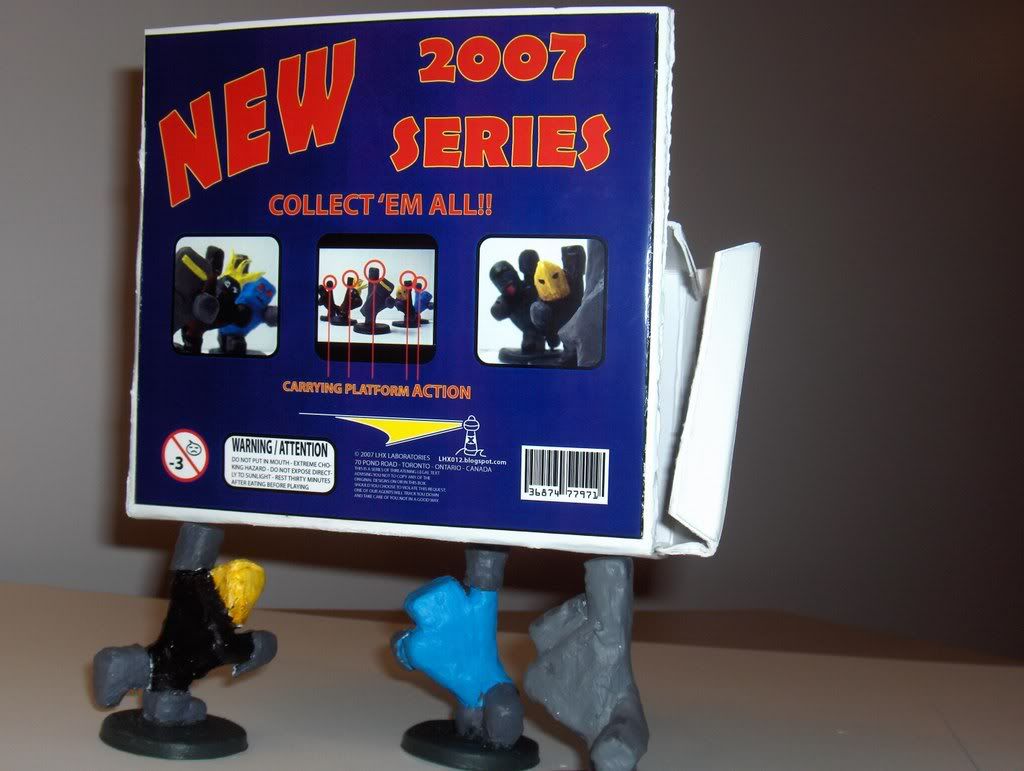
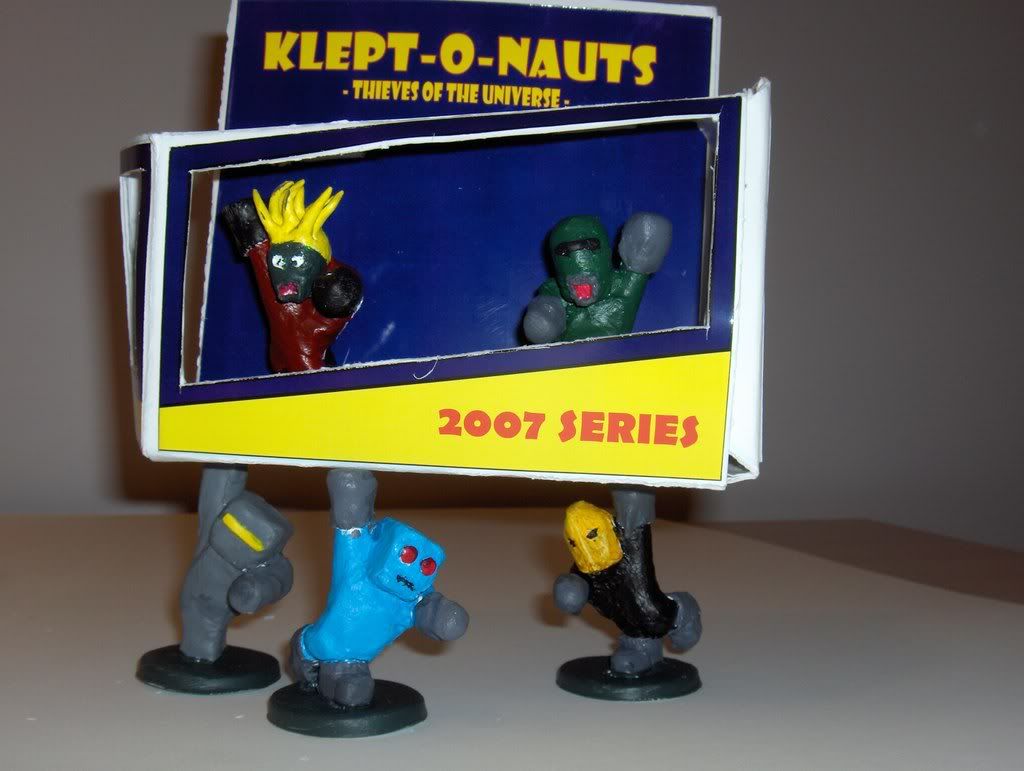
The Toy Box Disaster

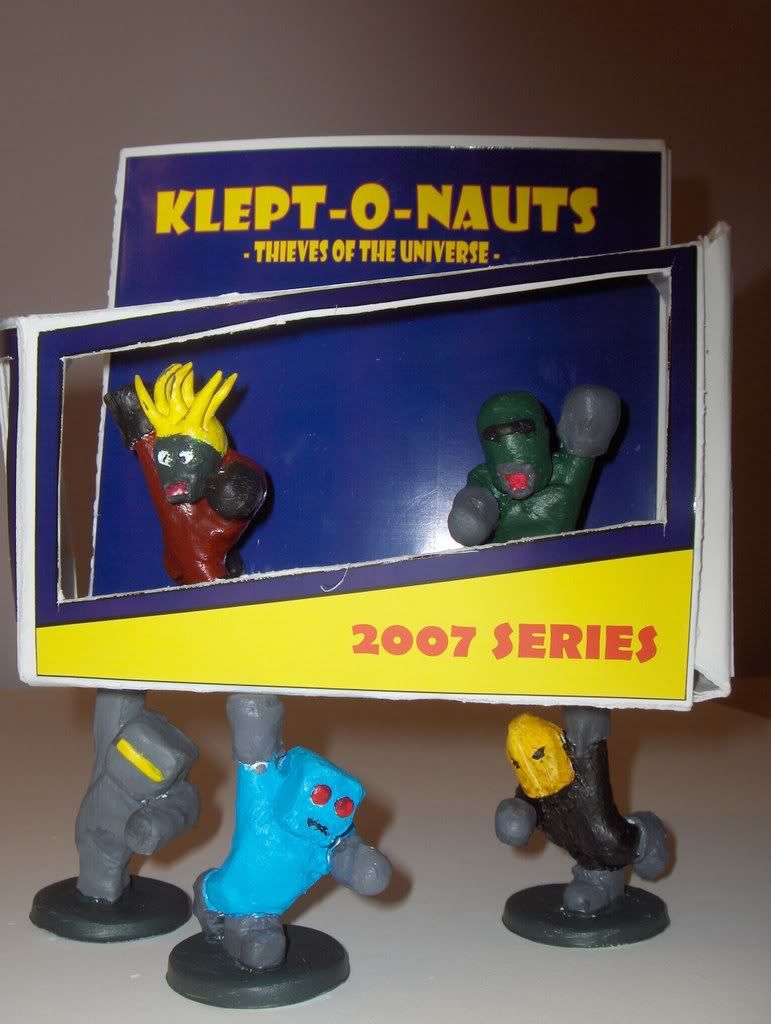
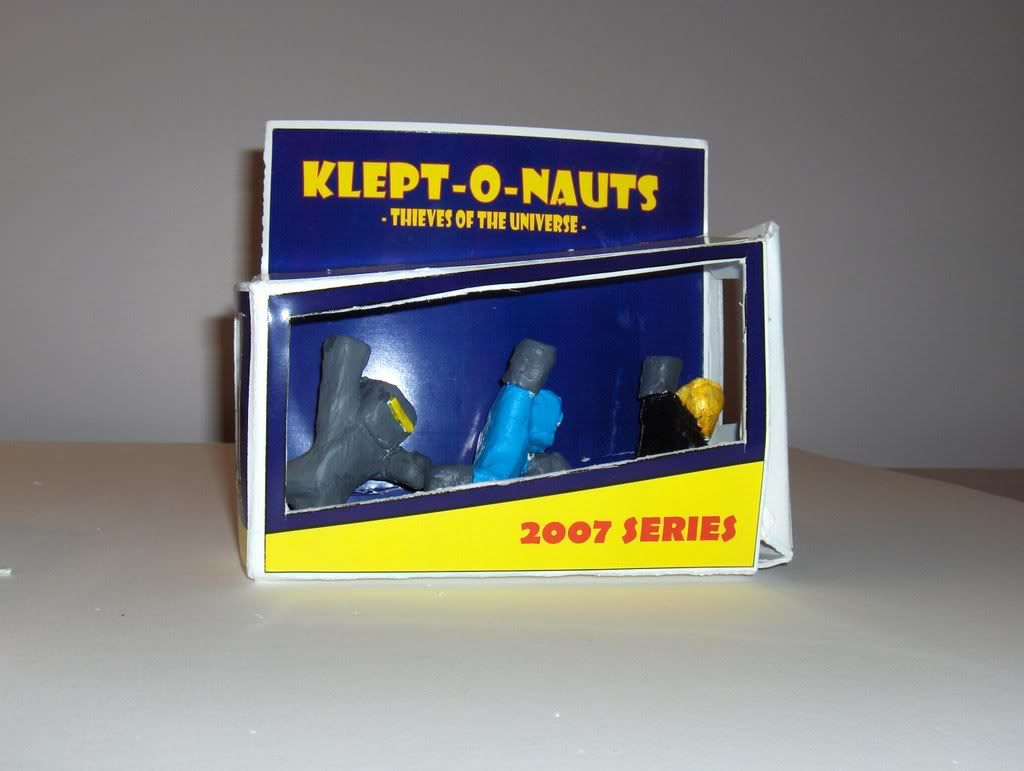
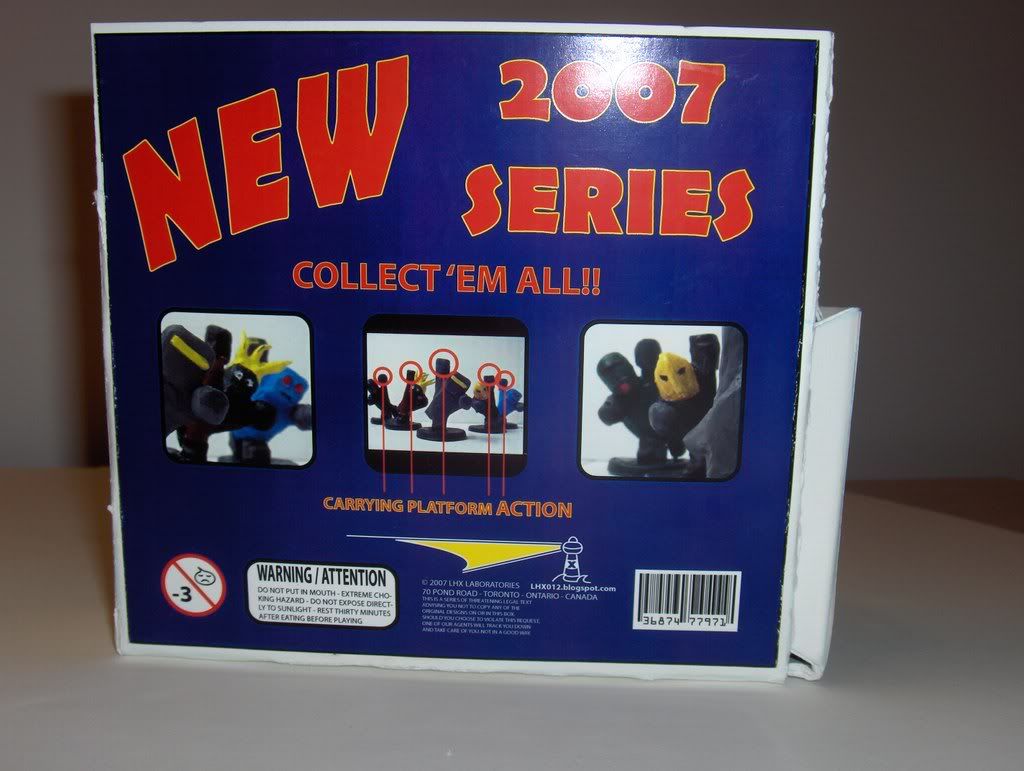
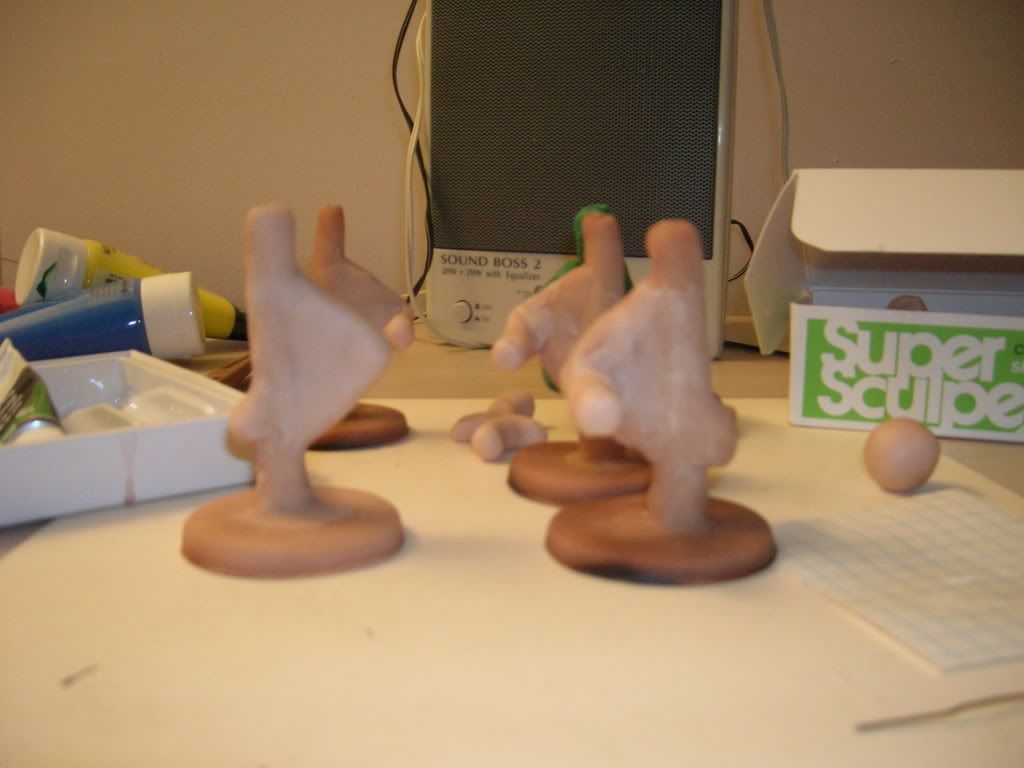
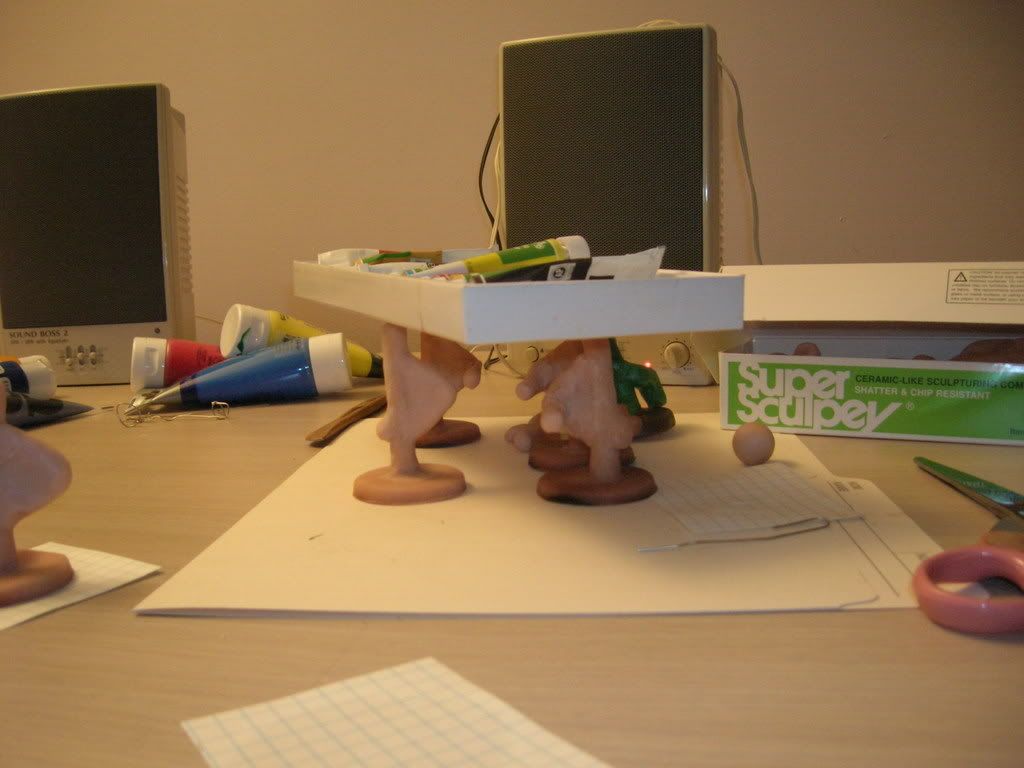
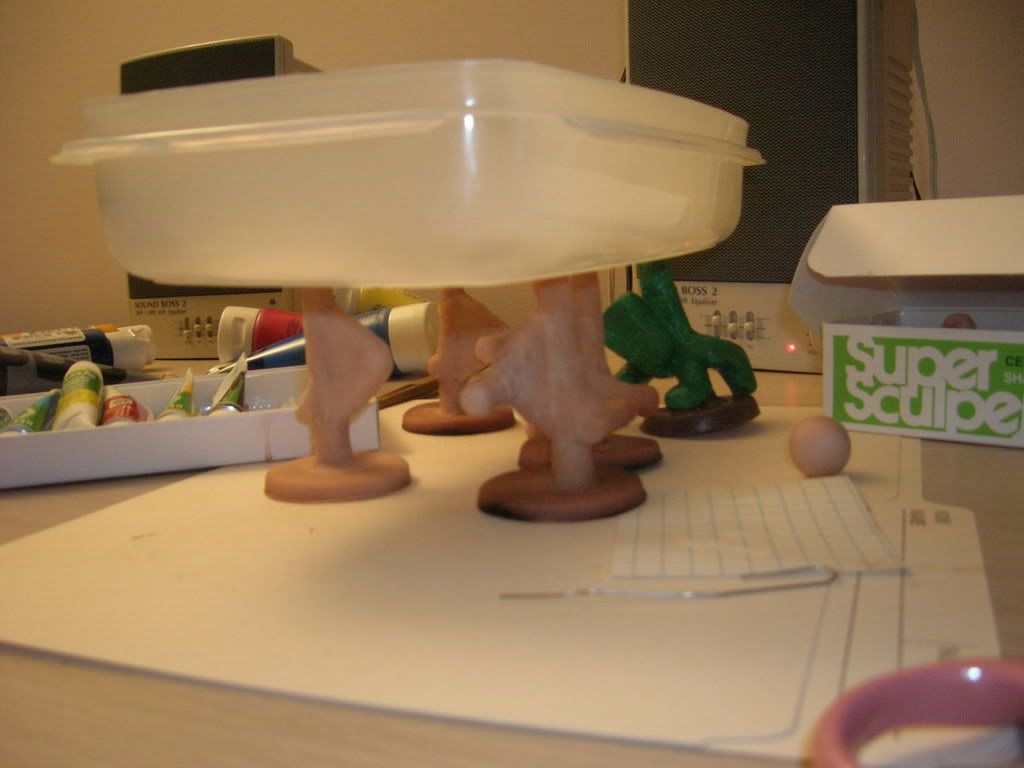
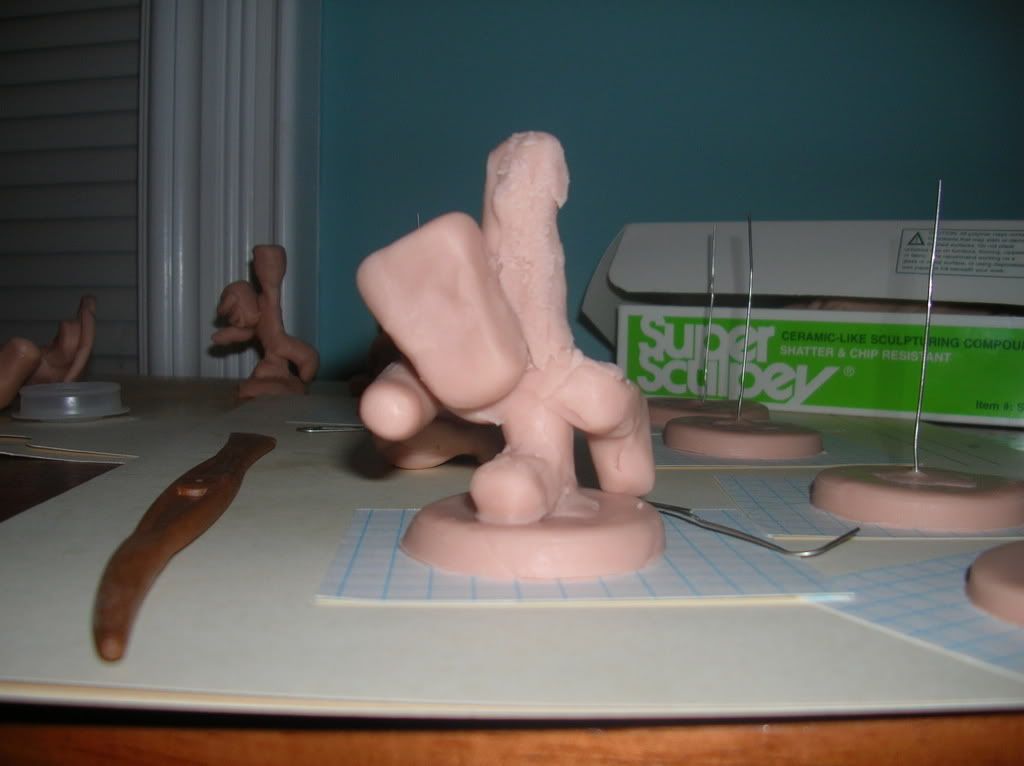
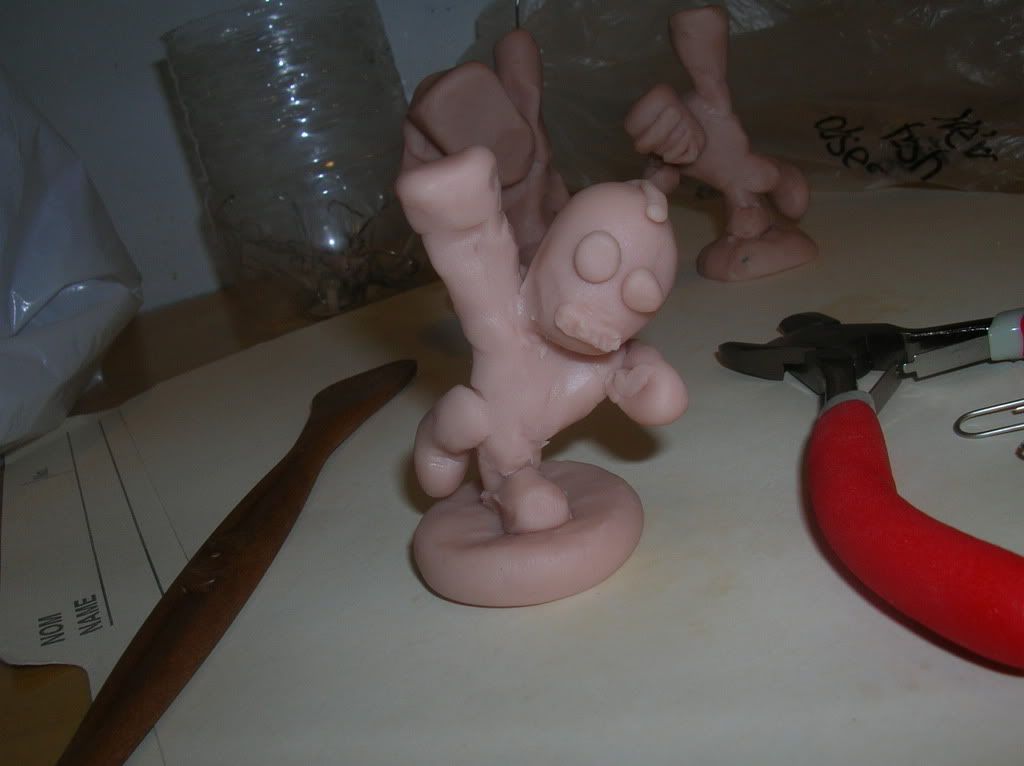
well - at least the figures are somewhat photogenic


and surprisingly good at what they were designed to do - which was hold things


the paint job is still kind of trashy as you can prolly tell

but all in all - the characters seem to have some personality

cant complain too much


actually - i could

its just not my style

Labels: , ,

Sunday, April 1, 2007

Board Project: The First Post

to all my loyal readers:

you can stop sending the e-mails - i am fine - nothing bad has happened

yes - there will be some final entries regarding the Toy Project

this week been wild busy

the toy box turned out to be a disaster

but the project on the whole was a good learning lesson


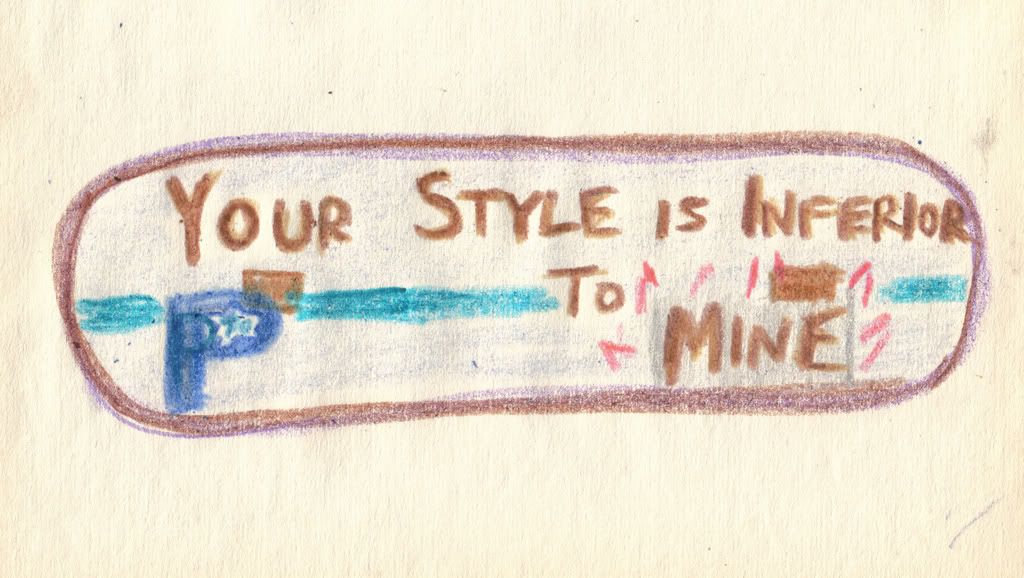
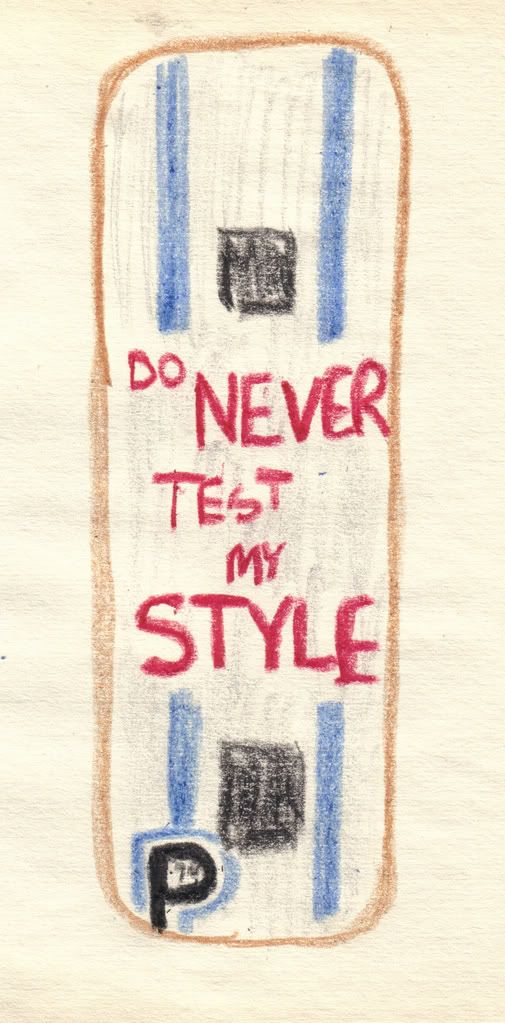
anyway - here are some preliminary designs for the Board Project (where we will be designing a skateboard):


as you might be able to tell - fonts will factor significantly in my design

a bold claim - much like the giraffe ad i did earlier


thats the steelo


penmanship reigns supreme


more designs later


and yes - that is crayon

takin it old school on yall

Labels: , , ,

Sunday, March 25, 2007

i make so many dumb mistakes

its all about learning right?

i fuck up monumentally, and then next time through i ace it like a pro


at the end of this project i will need to make a post dedicated to mistakes and learning from mistakes


a beginner's guide for beginners

Labels: ,

Saturday, March 24, 2007

Saturday - The 20-foot-drop - Aftermath

6:30 am start
talk about commitment


i had to stop by the school to pick up my paint brushes
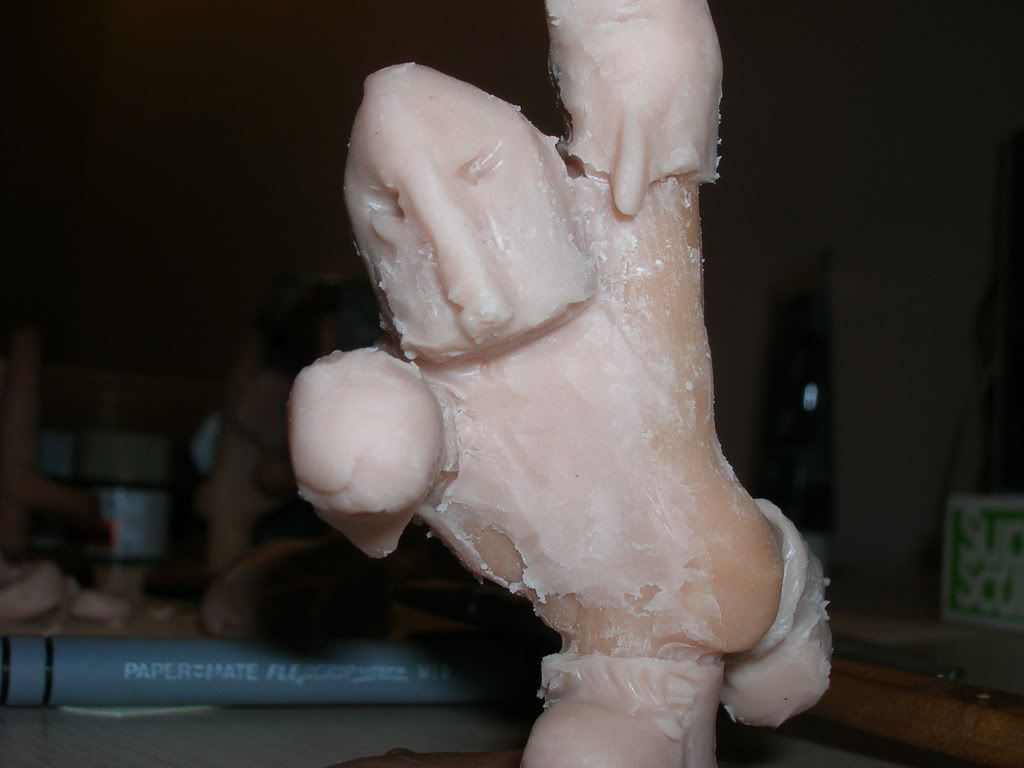
as i was leaving - i went to take my CD player out of my bag and didnt my prototype sculpture decide to see if he could fly?

It fell a entire floor of the TEL building

its funny - in class i was wondering what kind of idiot would get their project broken - and just for clarification - its my category of idiot
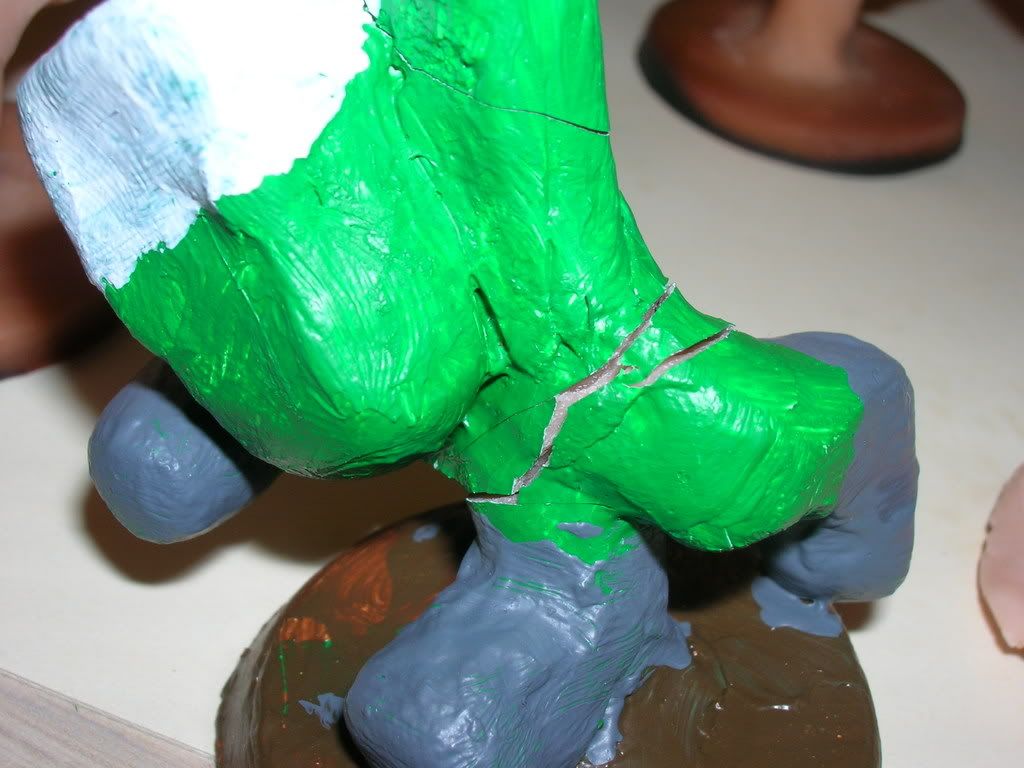
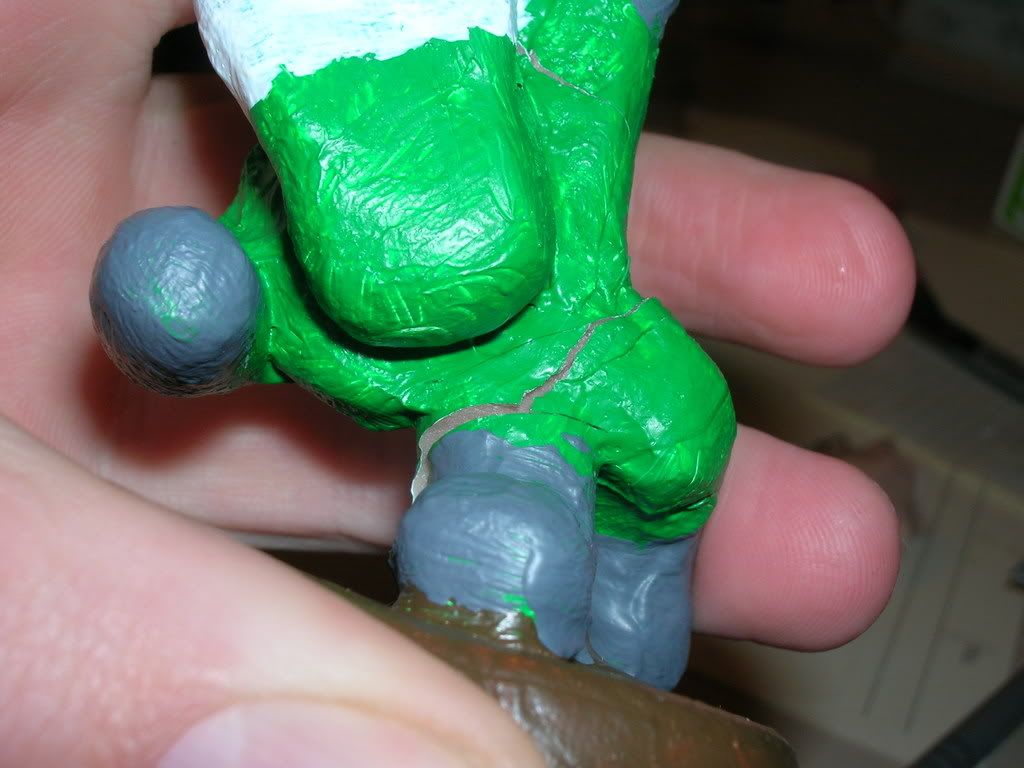
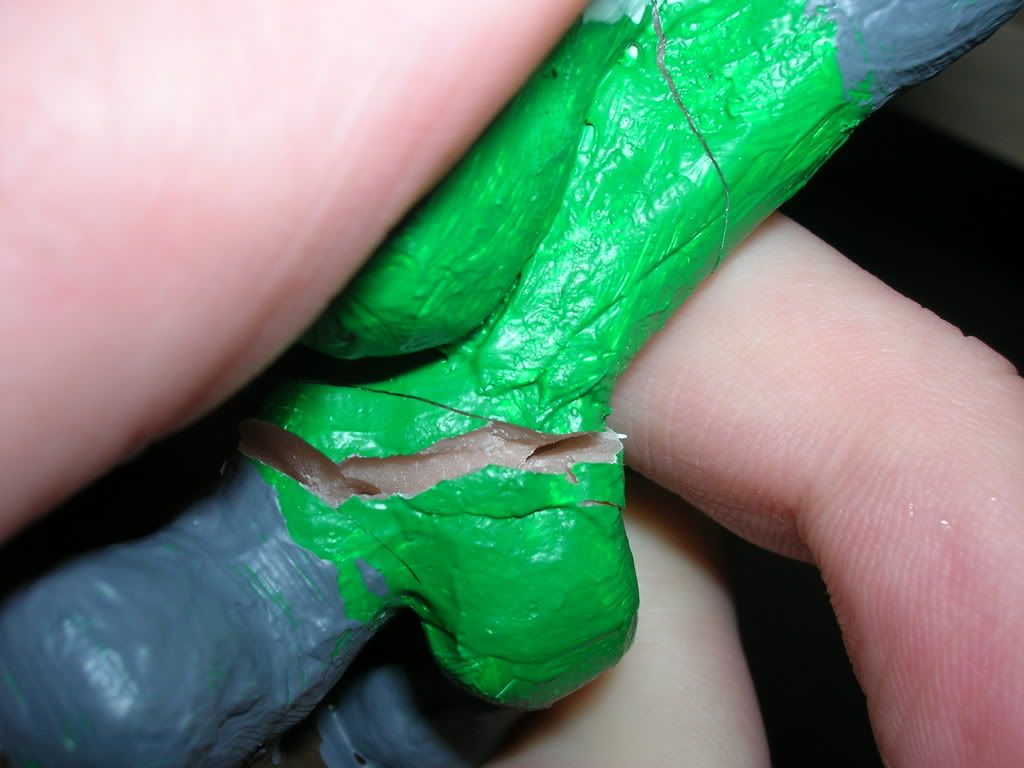
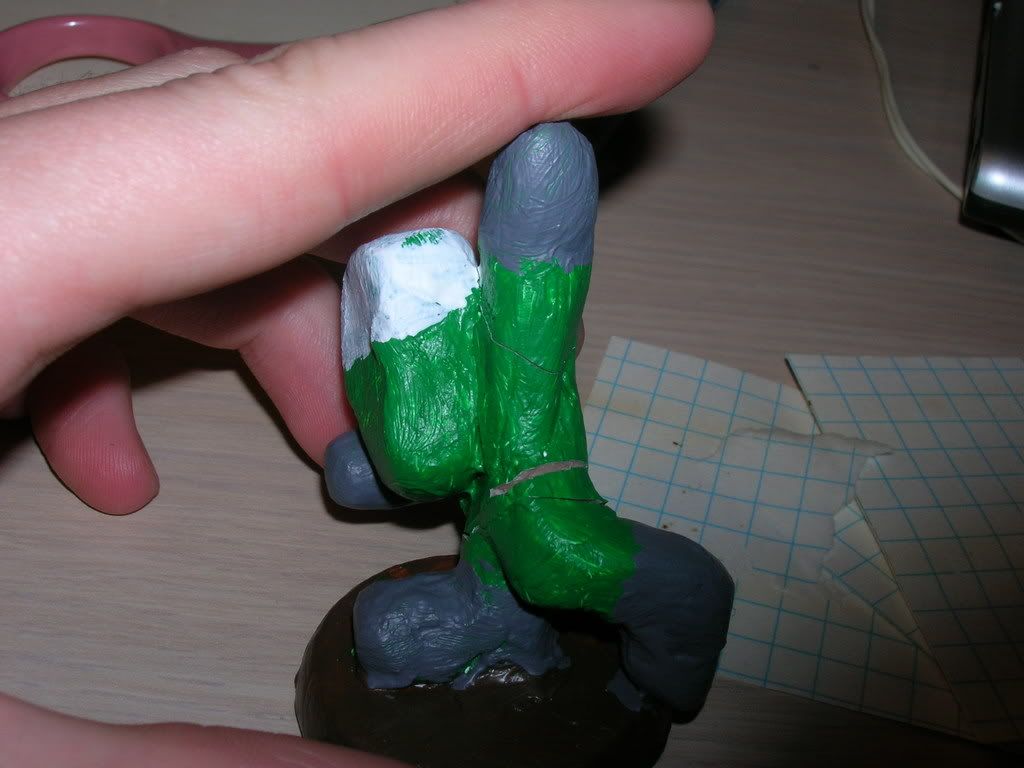
but - as i said it was just a prototype

i was only carrying it wiff me as a point of reference when i went to buy paint (so i could show the dude at the store what i would be painting on)

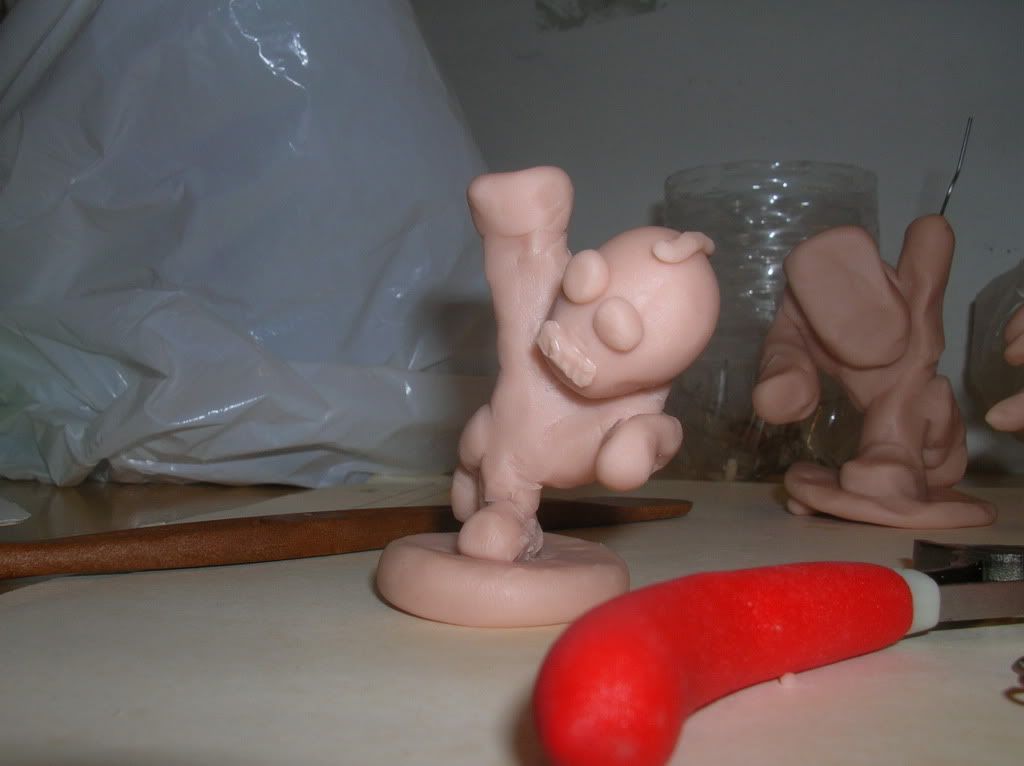
as you can see here - the rest of the militia is still in tact:
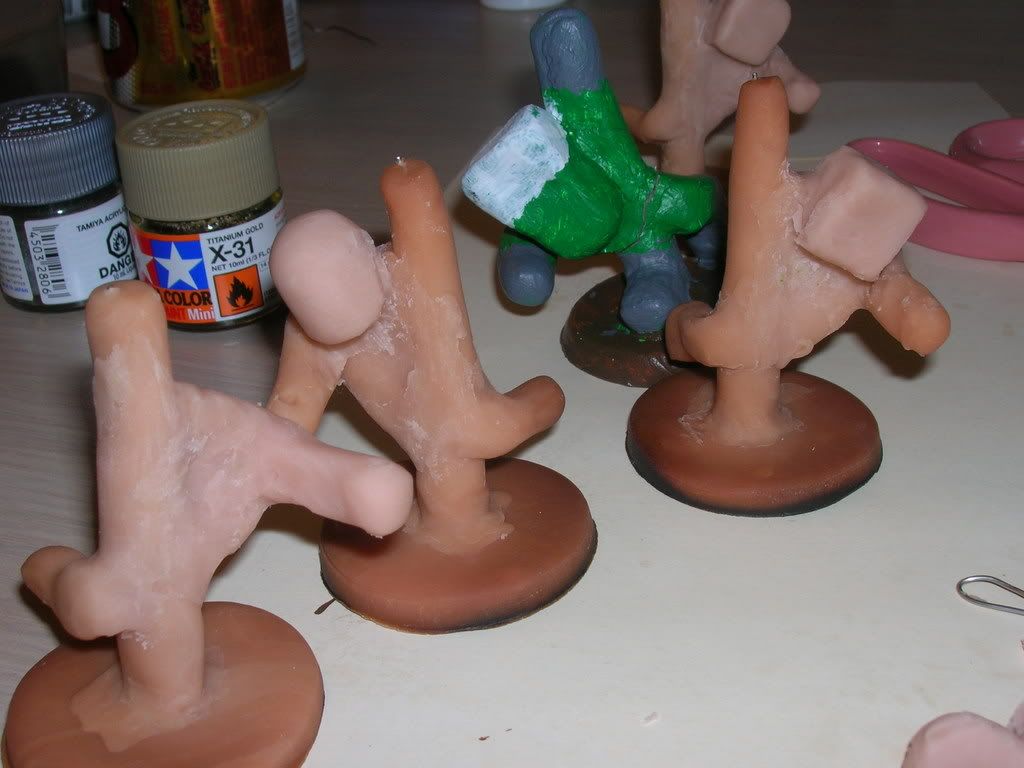

you can also see the paint i bought in that above picture at the Pacific Mall (only took me a decade to get there - that place is dope tho)


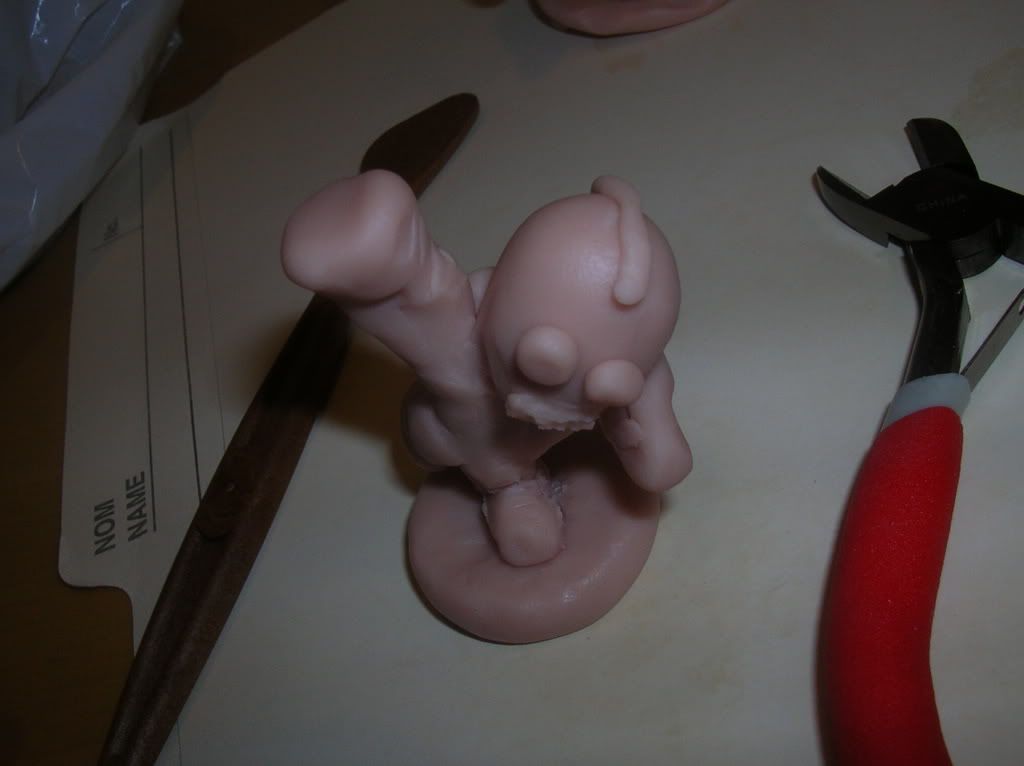
and below is a final detailed version of one of the figures set for its last baking:
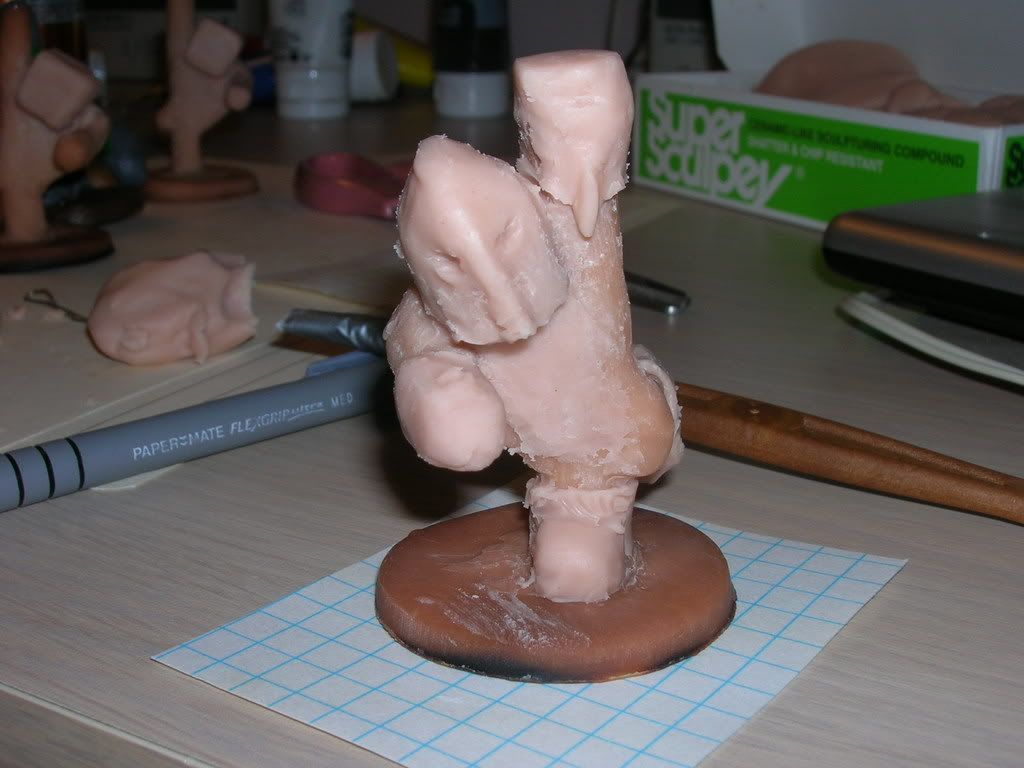

this dude turned out pretty cool

more updates later

Labels: , , , , ,

BREAKING NEWS!!!

items made out of super sculpey will break if dropped 20 ft on to a granite surface


pictures to come later

Labels: , ,

Friday, March 23, 2007

Friday Night Session - Toy Project
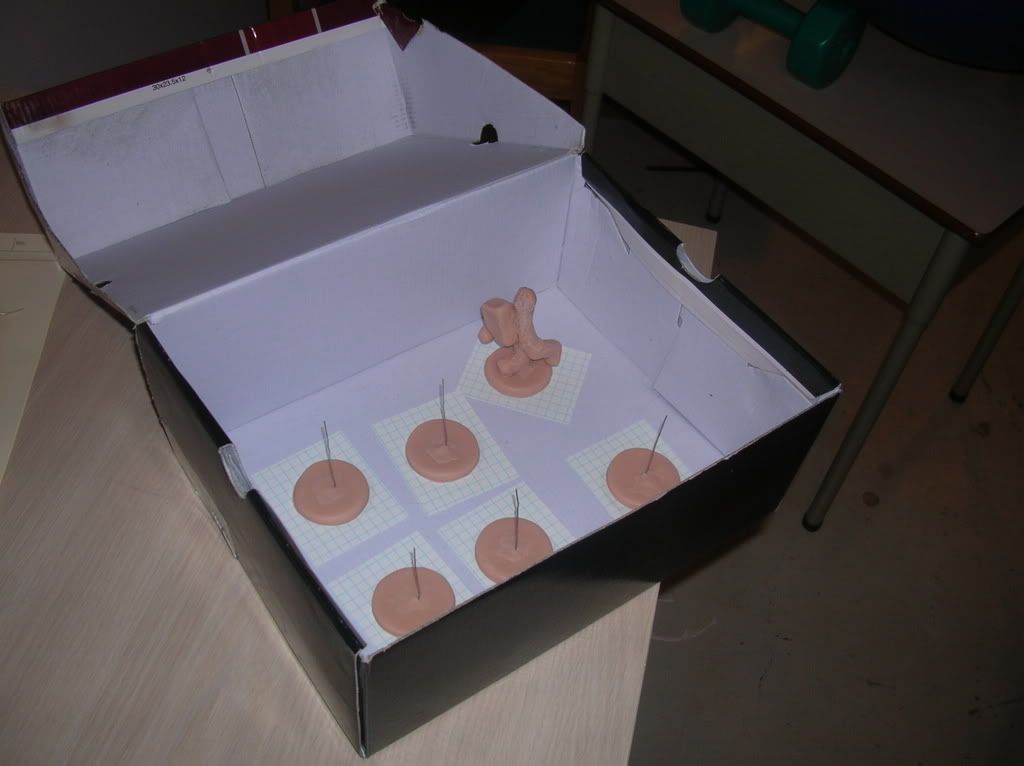
Much progress made:


Assembly Line was established:
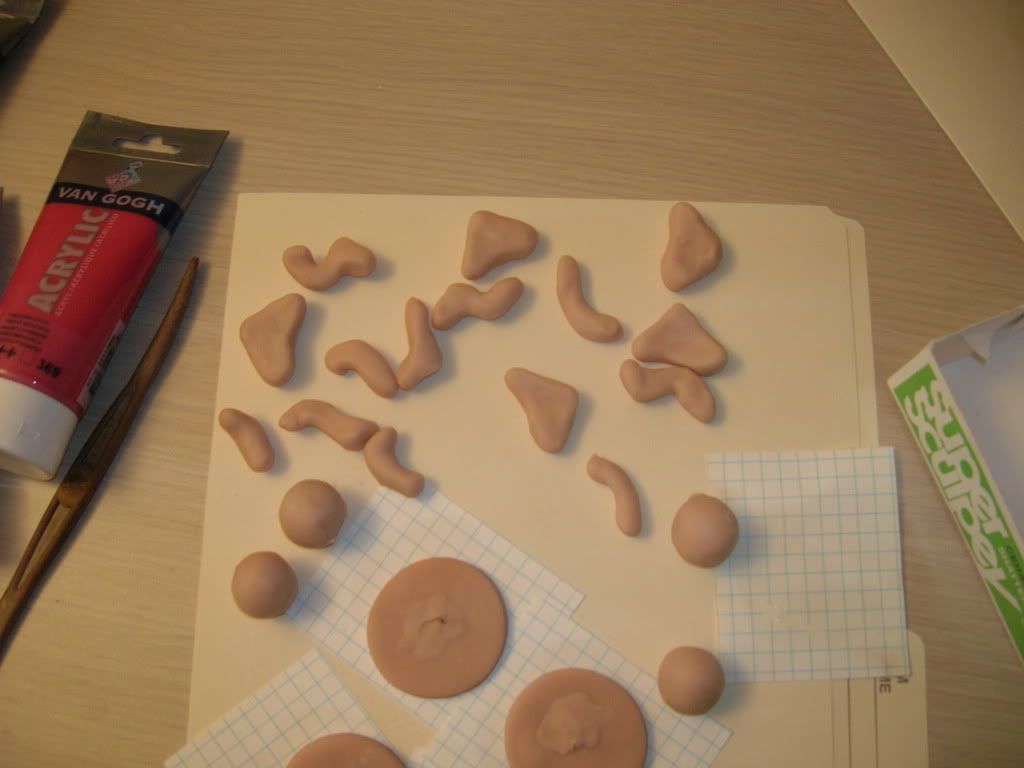
Chunks of aliens were prepared:


And the final product seems to be taking form:


it was a relief to see that the plan seems to be coming thru and the alien dudes are able to carry a flat object

you can see in that last picture that i did a trial run using the acrylic paints - not a tough medium to use


more updates later (tomorrow)

Labels: , ,

Monday, March 19, 2007

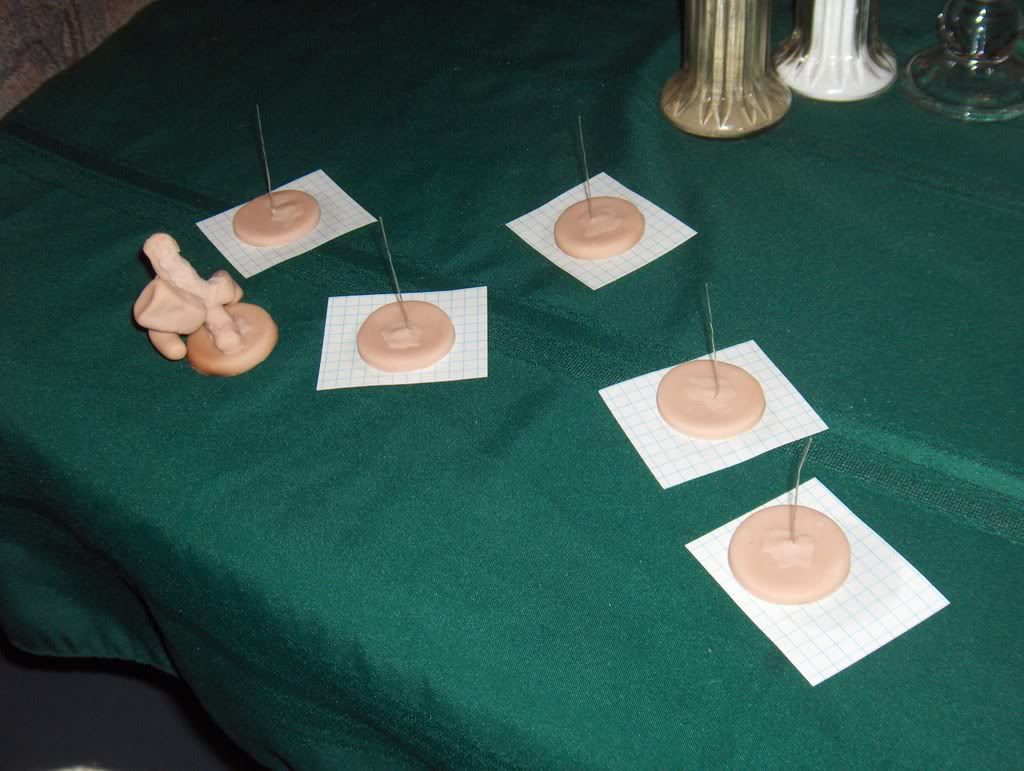
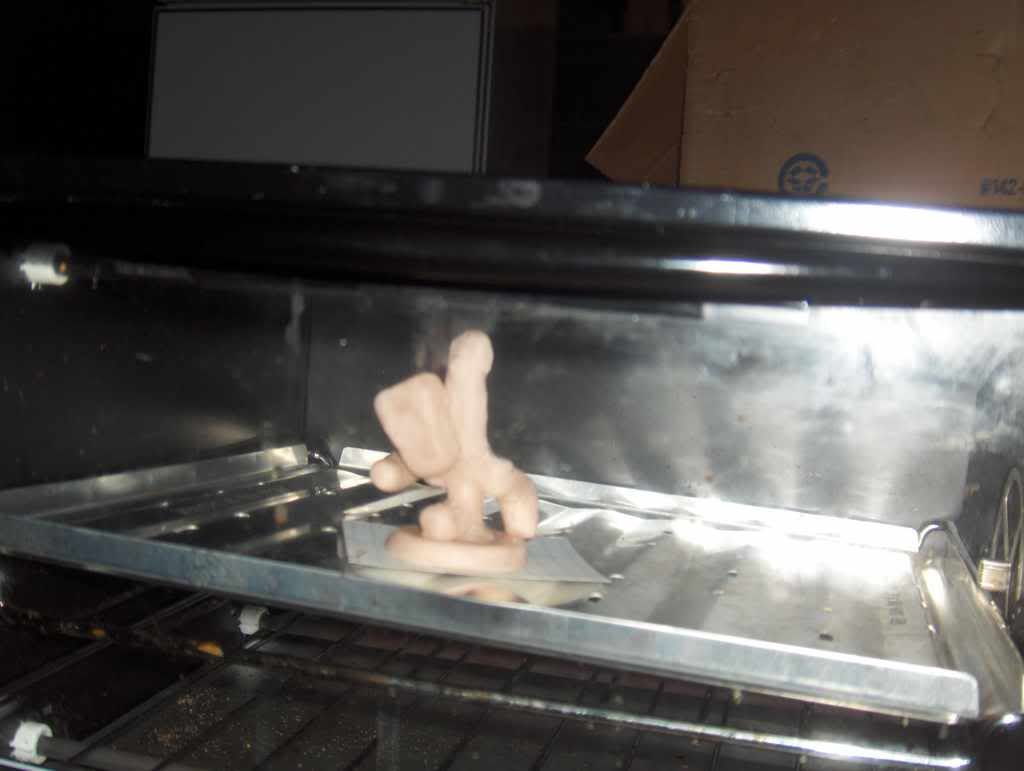
baking round 1 final product


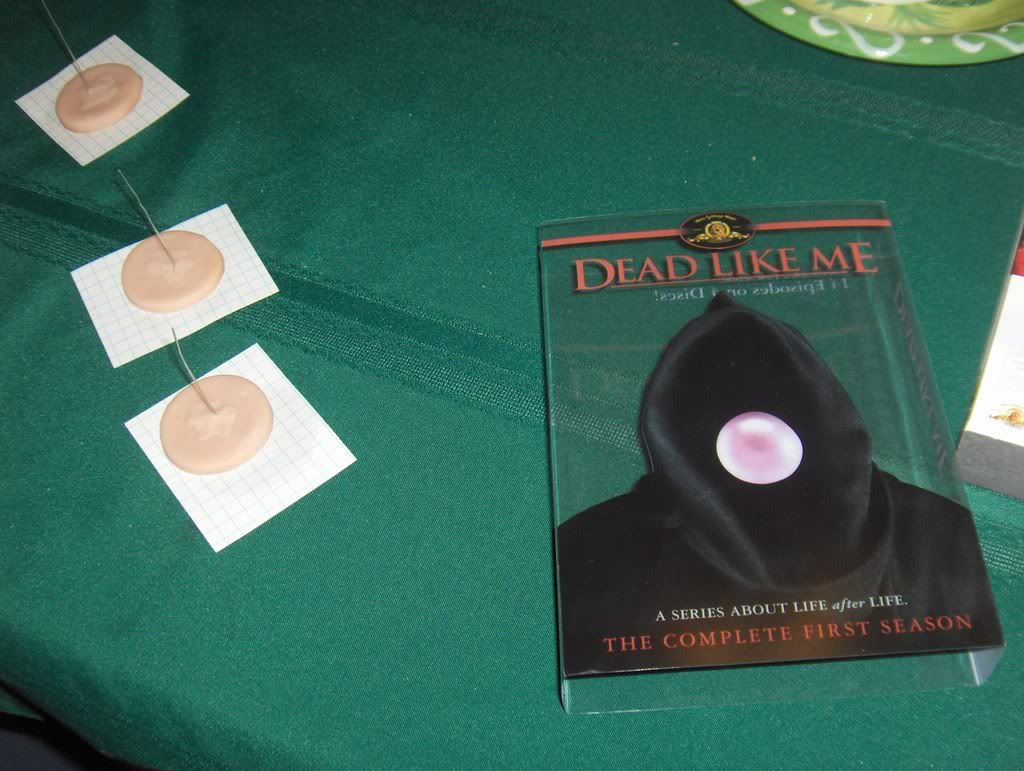
and somehow the dvd cover to Dead Like Me got in there


the bases look good

now i can build on them without mashing them up


the figure came out crooked but sturdy

looks like my idea might work out after all

Labels: , ,

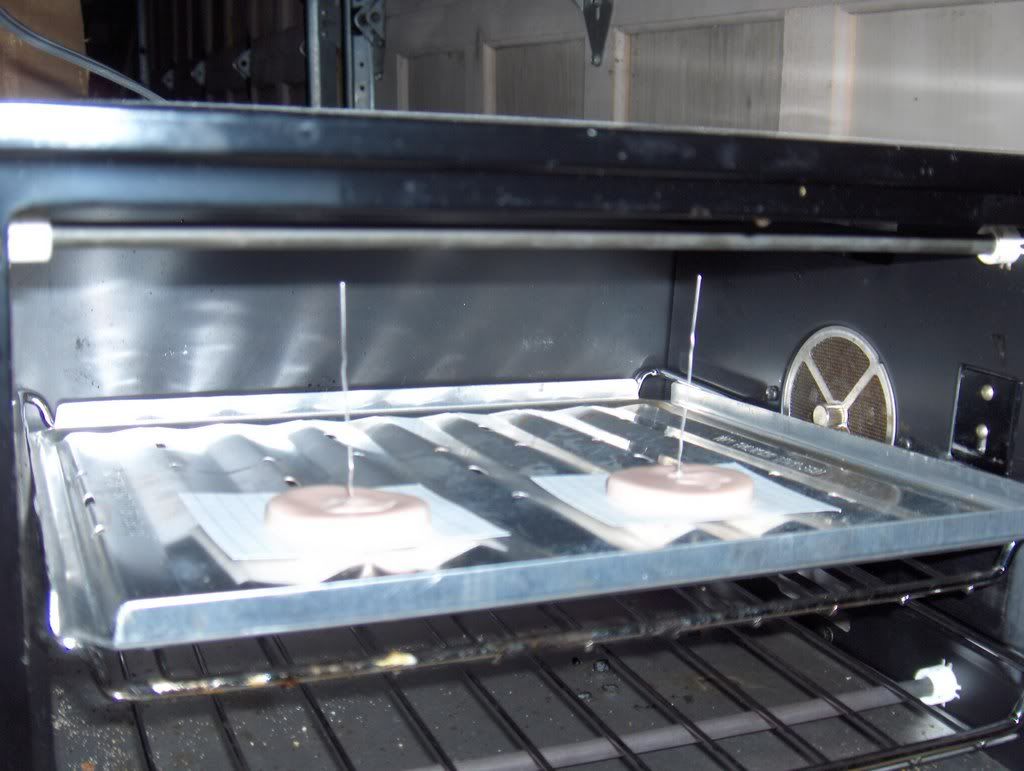
nothing beats the smell of plastic cooking in the oven

i was sent to the garage to cook these up

no doubt

this stuff stinks


i cooked some bases and i made a trial run at cooking a full figure

i will post how they turned out in a second

Labels: , , ,

old man cooking toys in the oven


thats right motherfuckers


how did my life come to this?

Labels:

Outside-the-Box Thinking

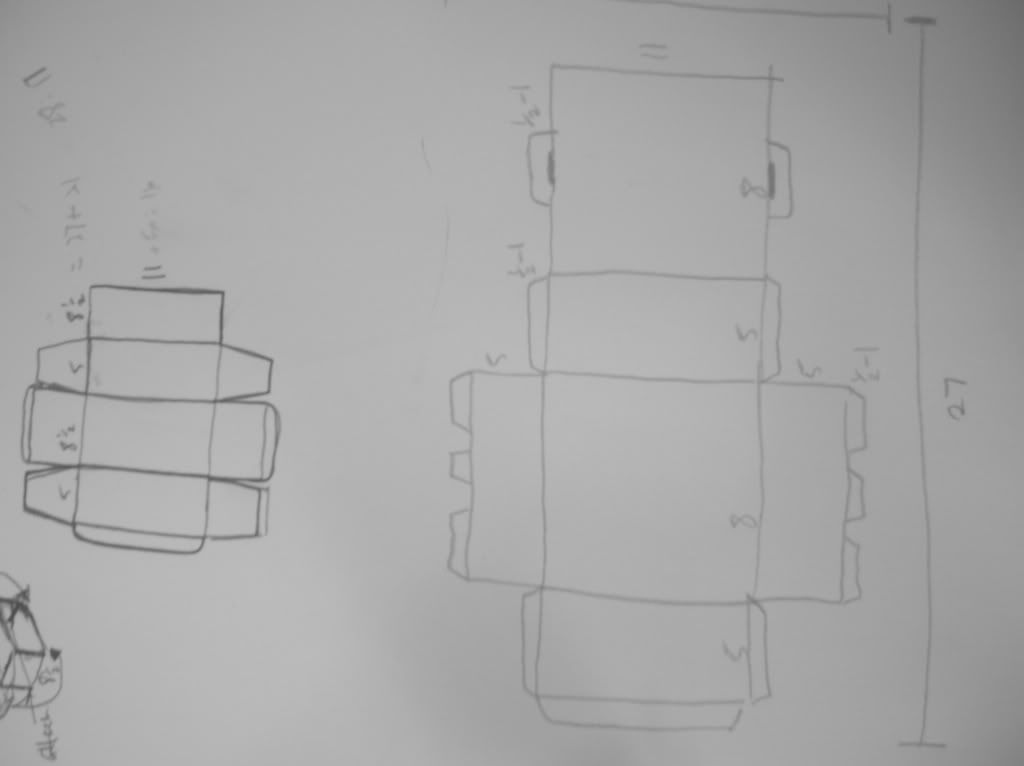
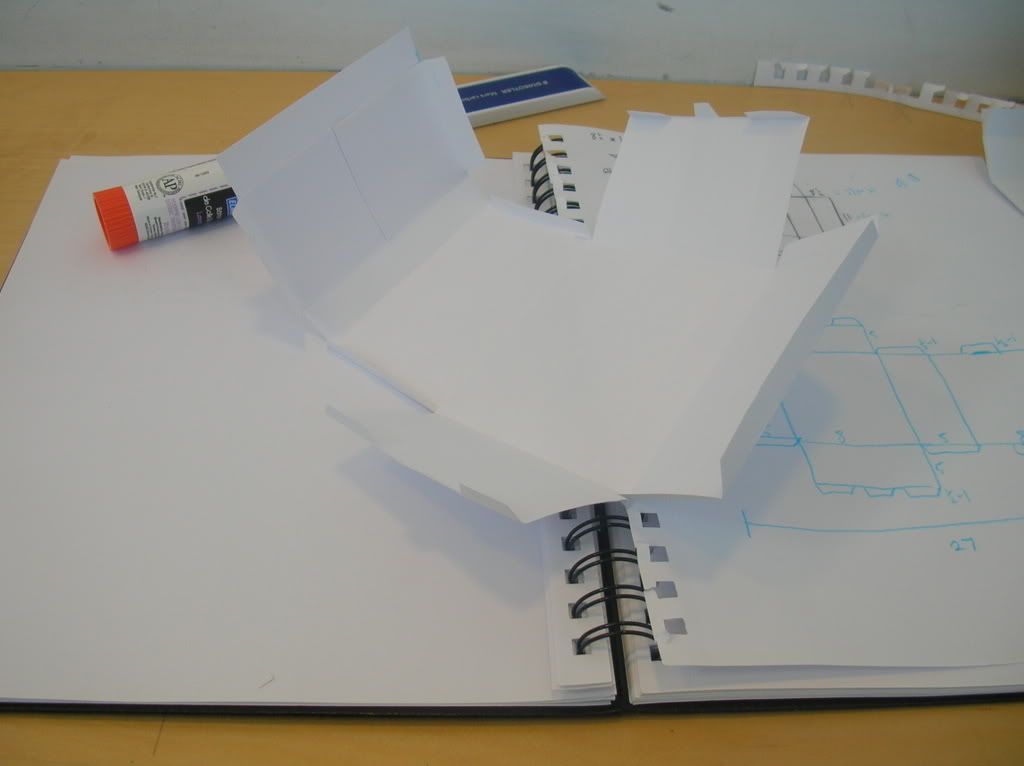
pictures from experimenting with box concepts yesterday:


7 more days to finish this project

the goal is to be printing the box by this friday

5 more days


i gotta churn out this english essay in the meantime (almost done)

Labels: , ,

Sunday, March 18, 2007

10:00am Sunday

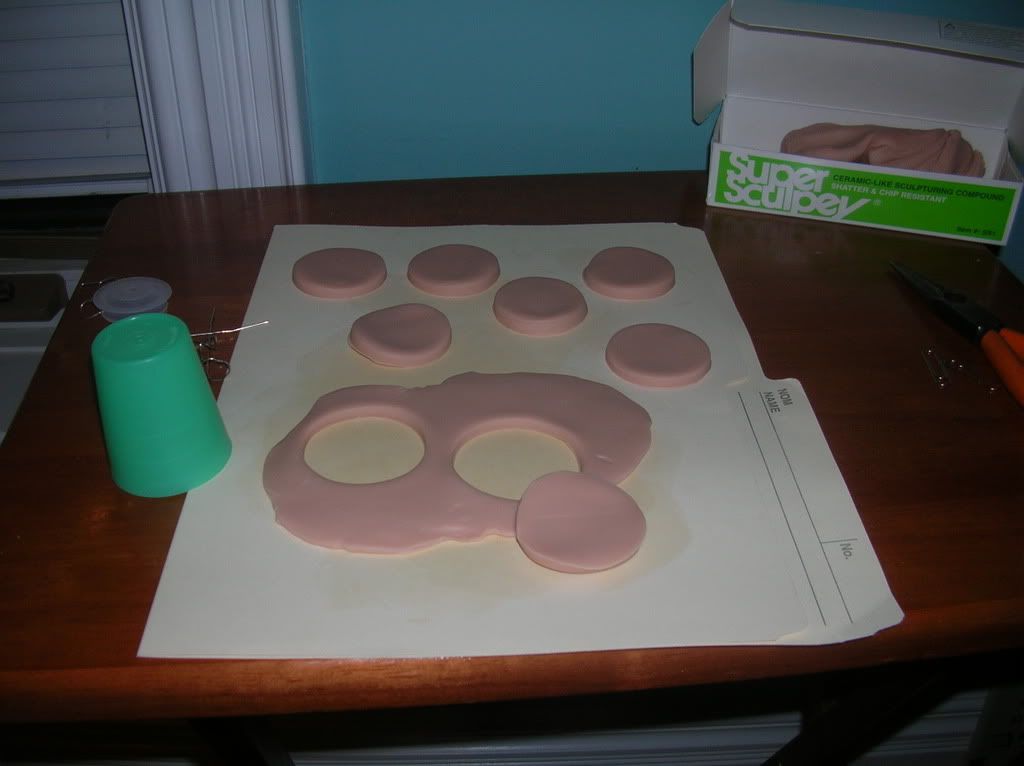
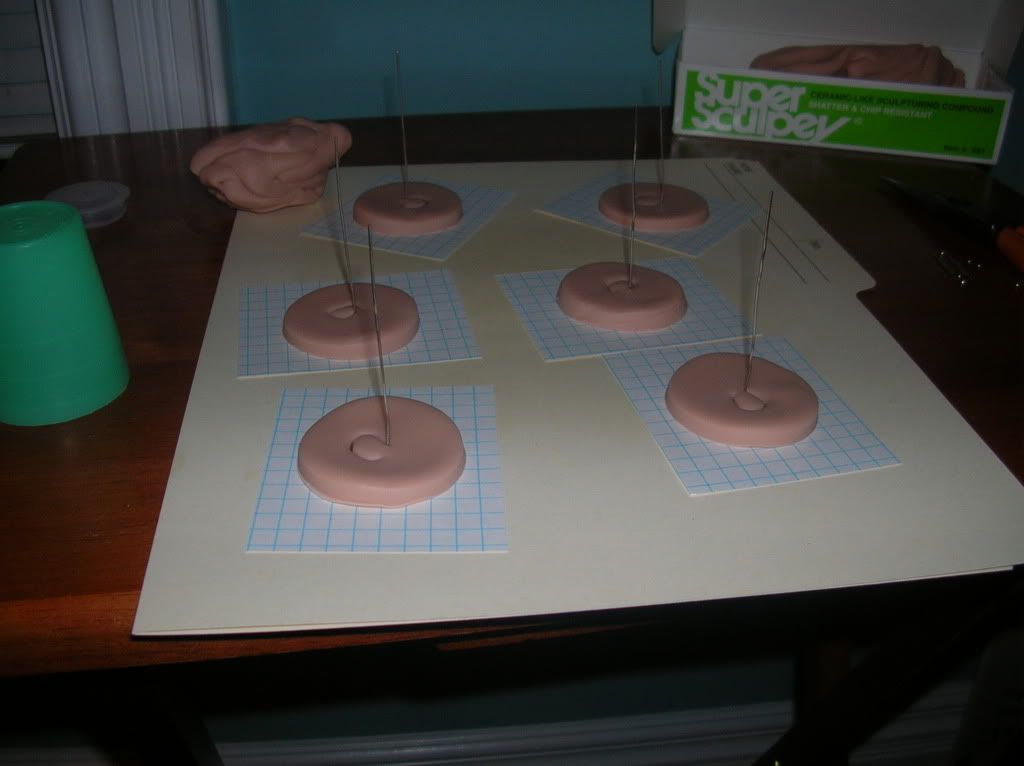
i dont have time to upload every photo right now - so here is a little preview and a link to the appropriate section at the photobucket account:

Toy Project Photos @ Photobucket
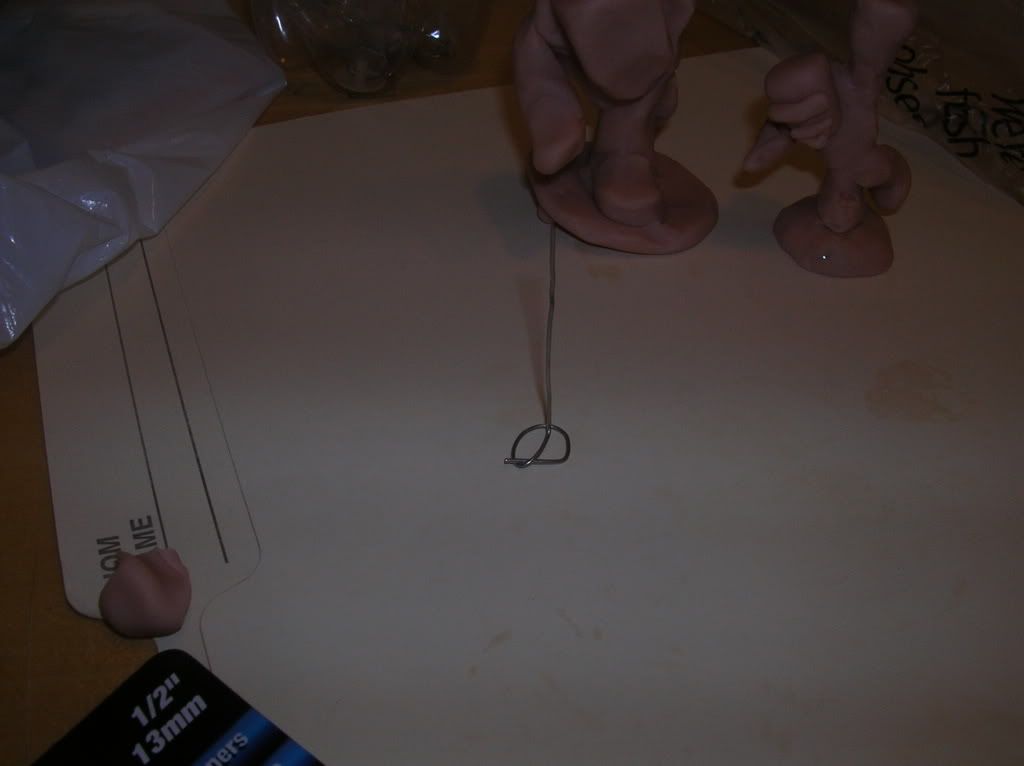
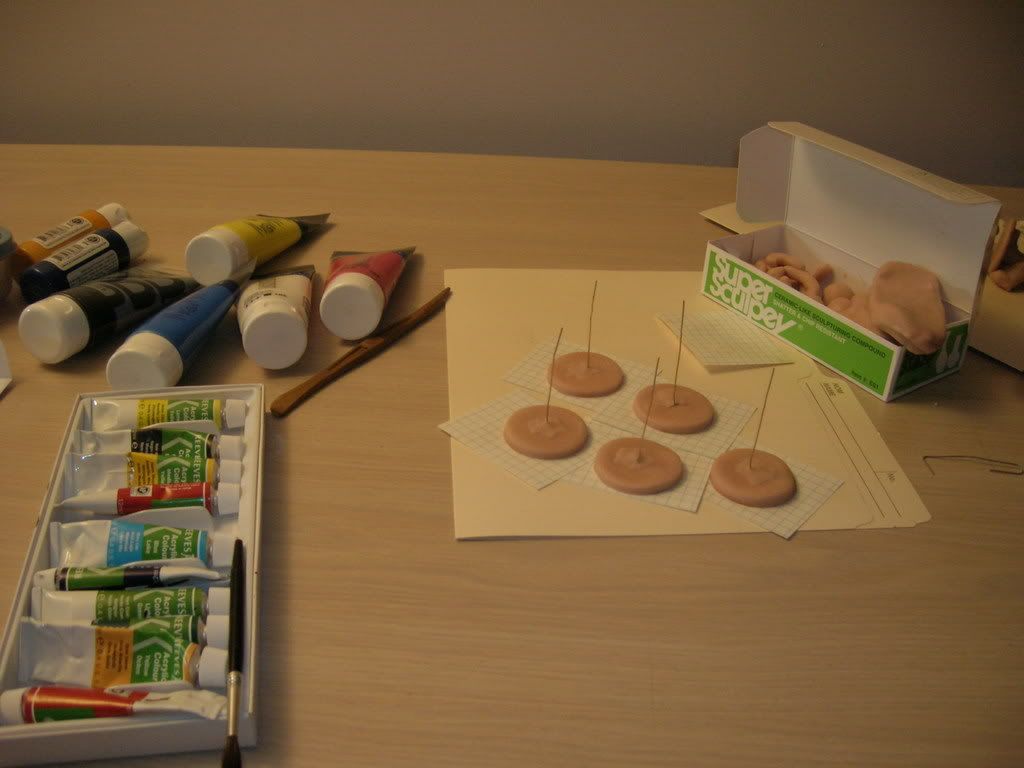
stamping out bases:


wire frames on index cards:


basic construction of figure (there will be 6 figures, each approximately 3 inches tall):


projected box-size with toy layout:


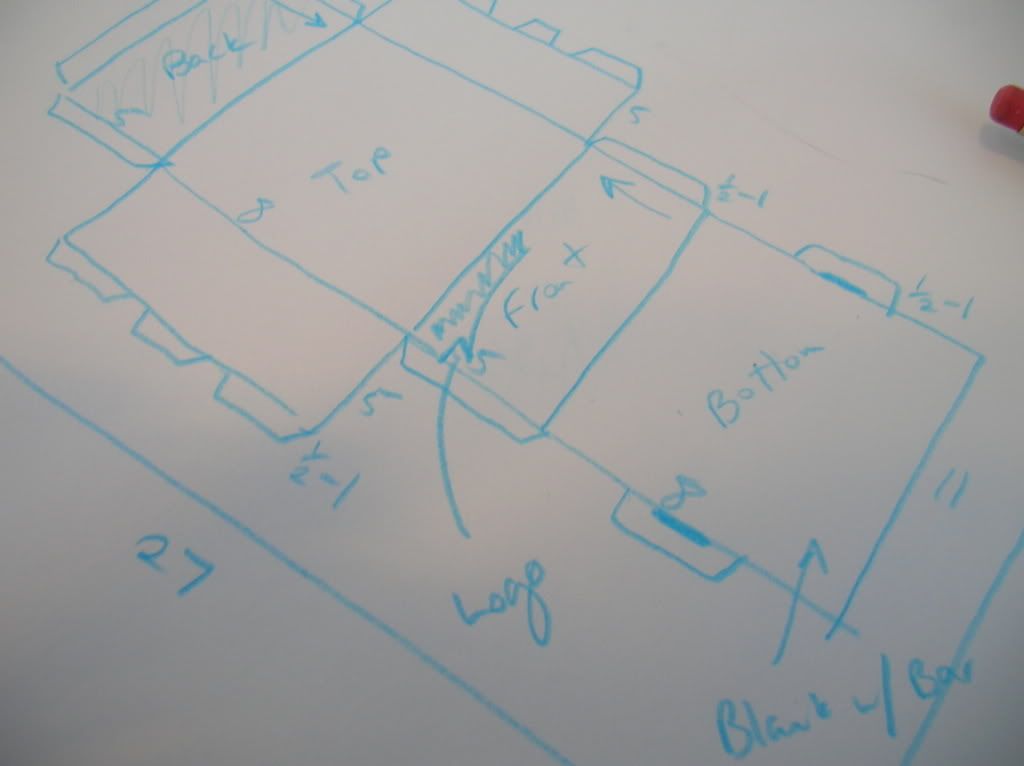
as for the box:

the basic dimensions are roughly 8 1/2" x 11" x 5" with either 2 or 4 faces having transparency

i will up some sketches of this later


funny enough - i am more concerned about the box than i am about the toys

the toys will be manufactured in parts for the last 5 pieces:

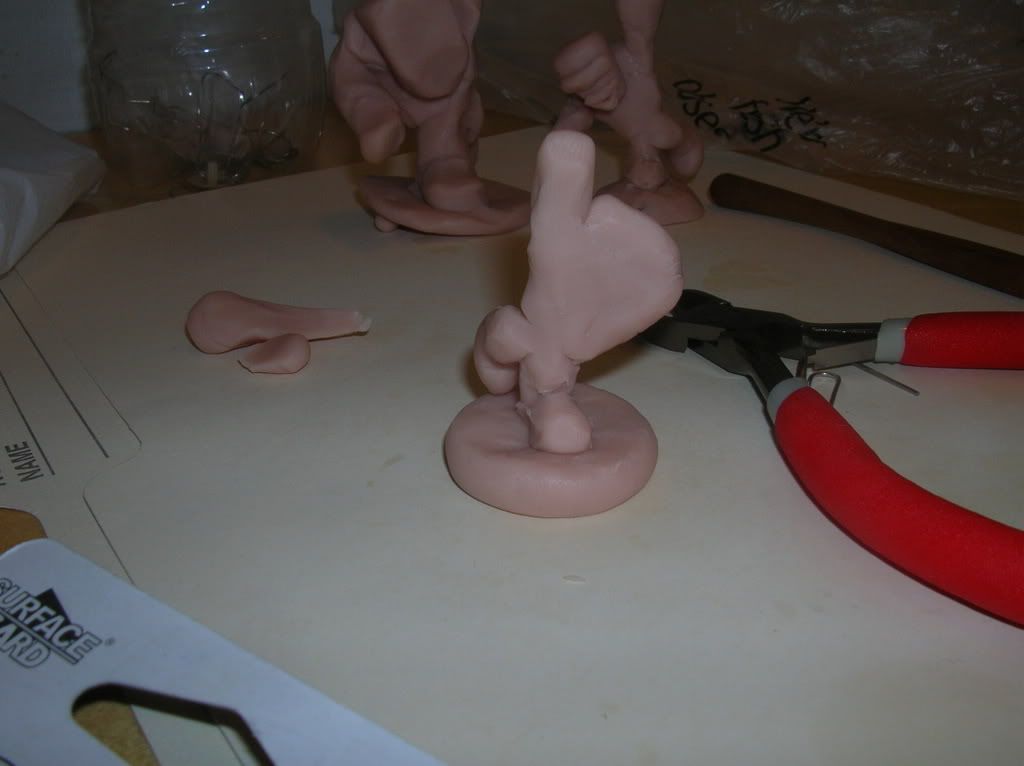
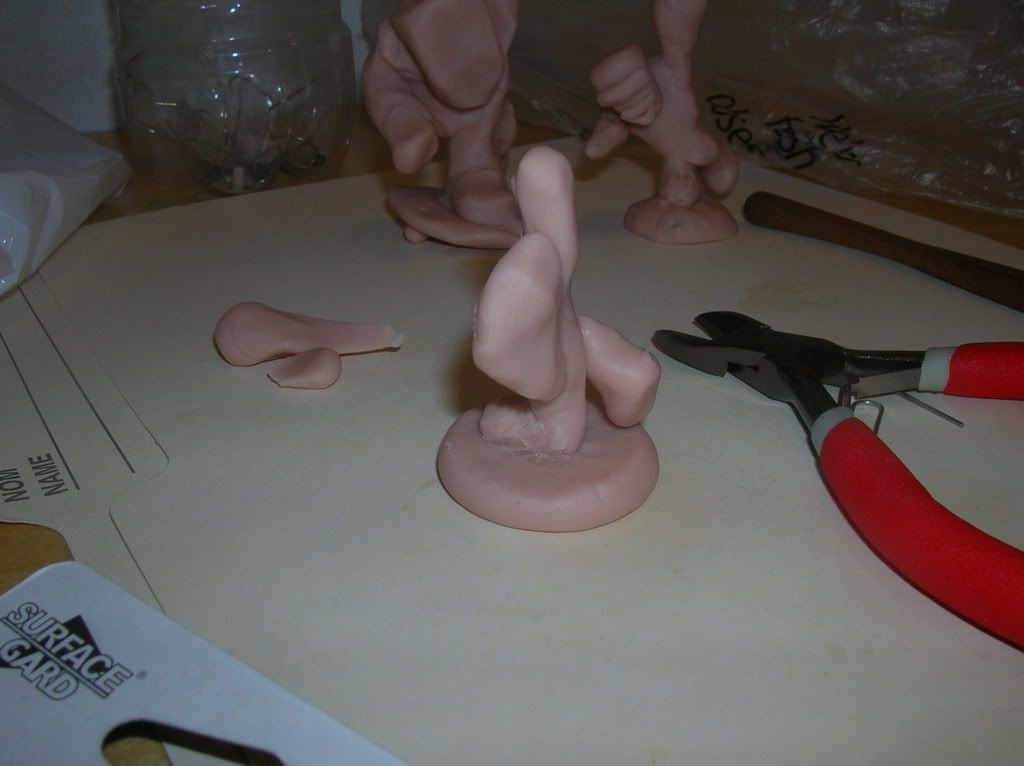
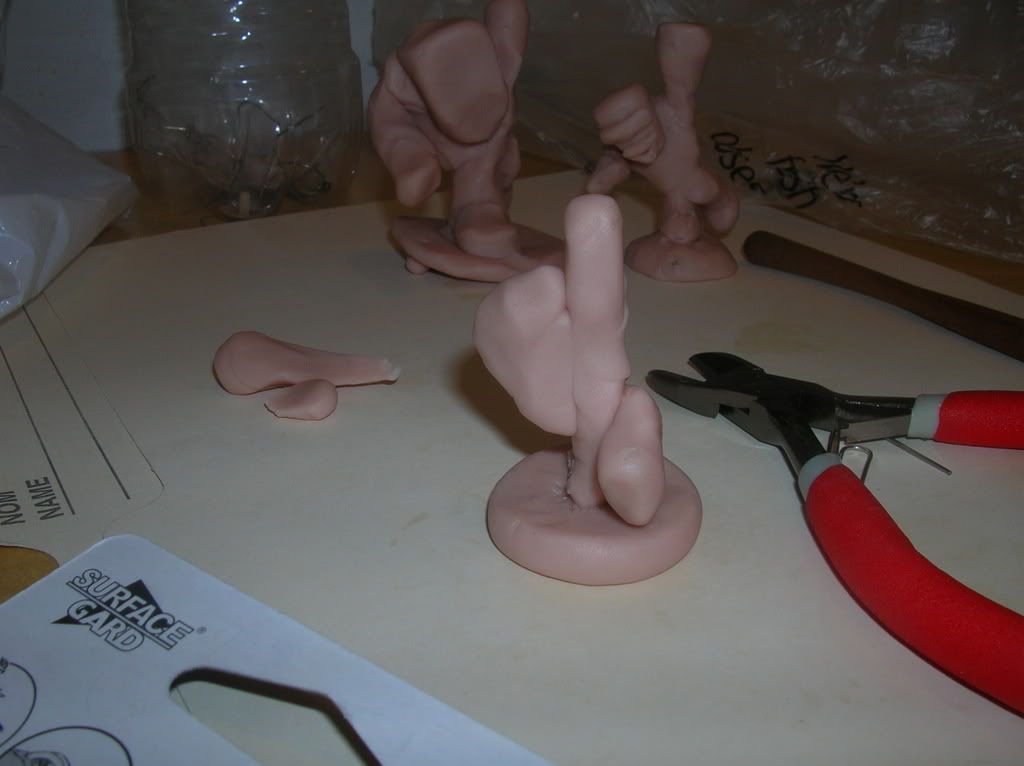
1. main column (foot / arm)
2. foot
3. other foot
4. torso
5. other arm
6. head
7. gun / weapon

so i need to make 5 of each of those objects - and then the toy production should be basically done (aside from the 'intricate' details)

Labels: , , ,

Friday, March 16, 2007

Toy Building Process

This is a basic rundown of the process I am planning on using:

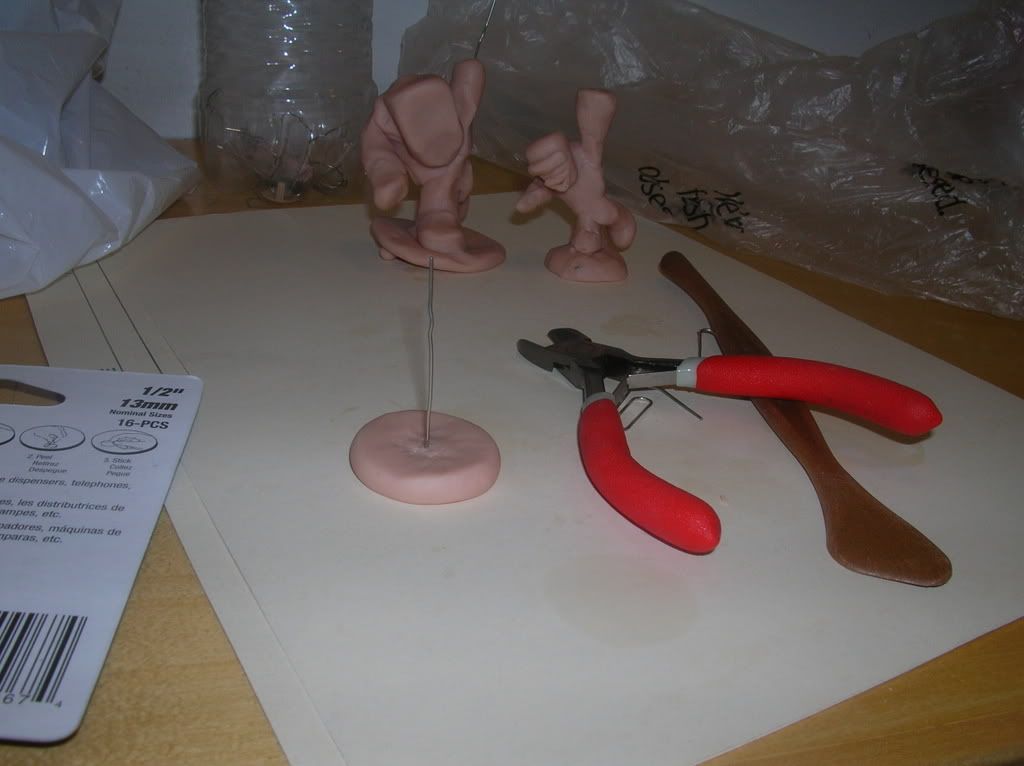
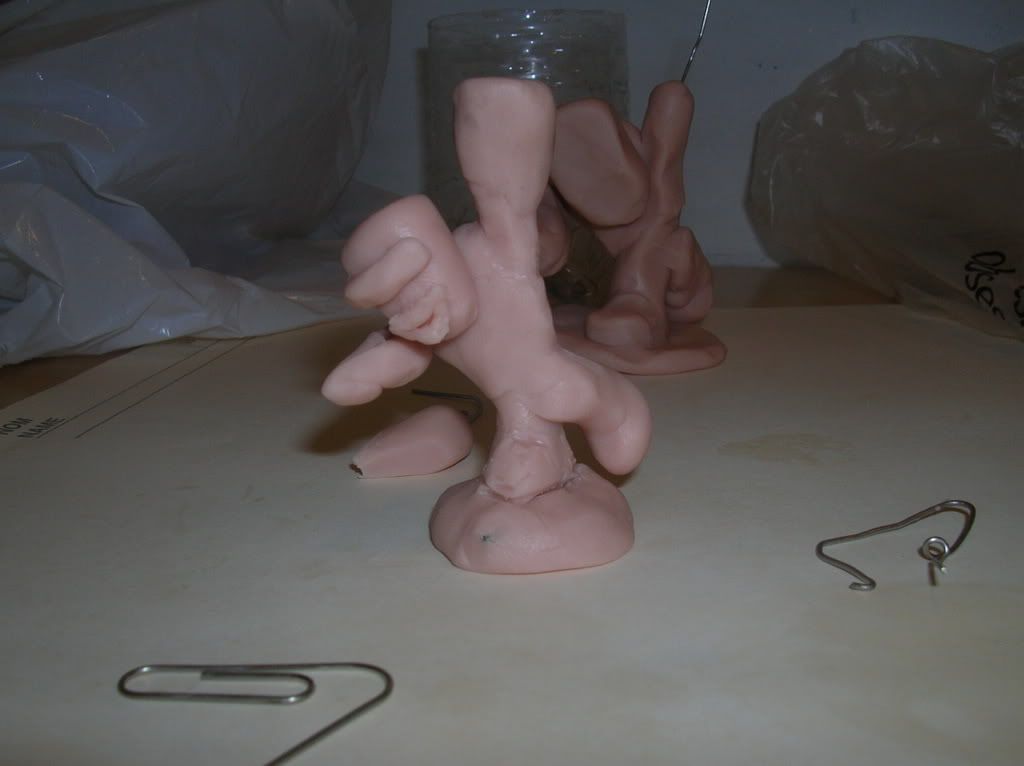
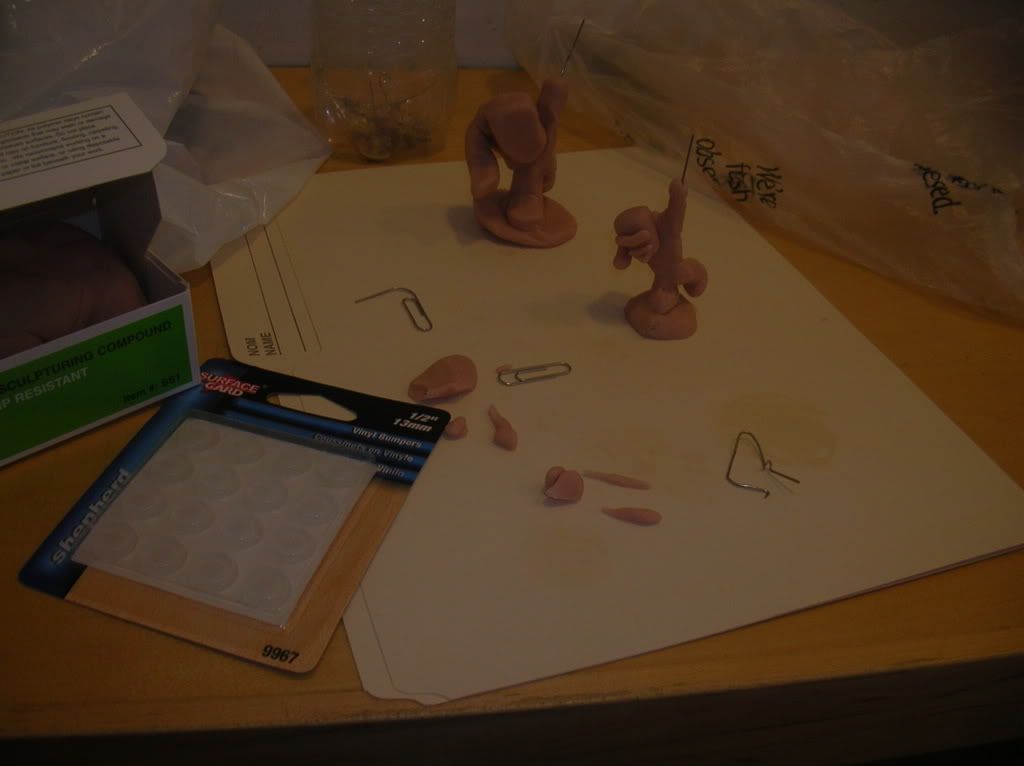
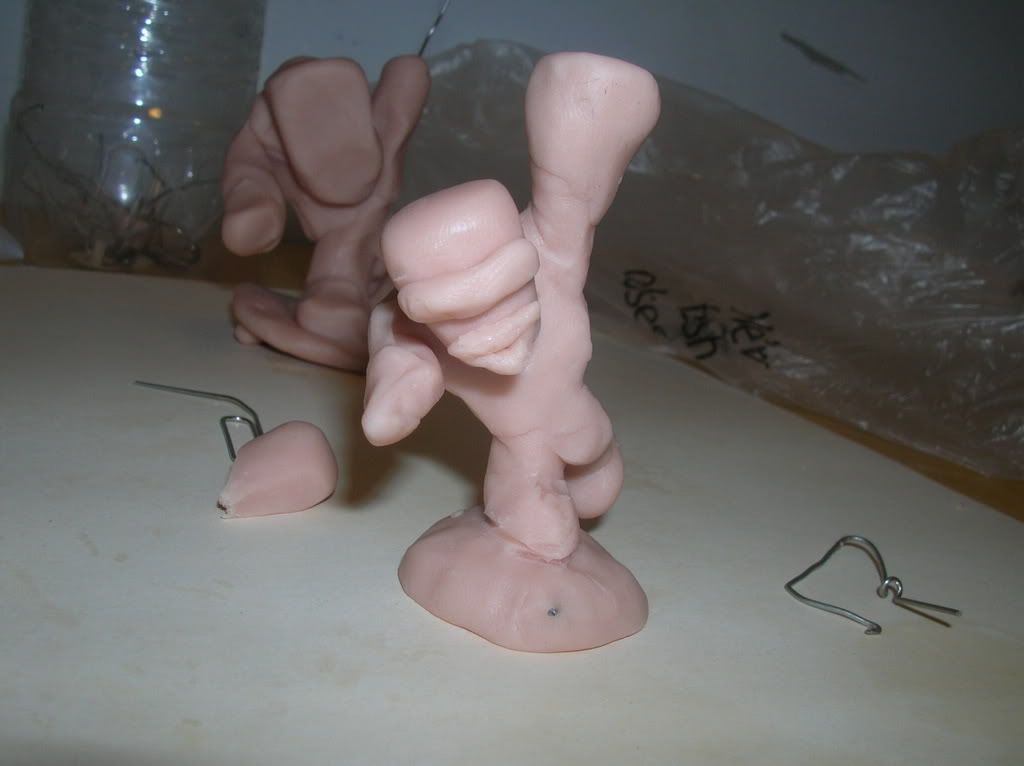
1. basic wire base frame:


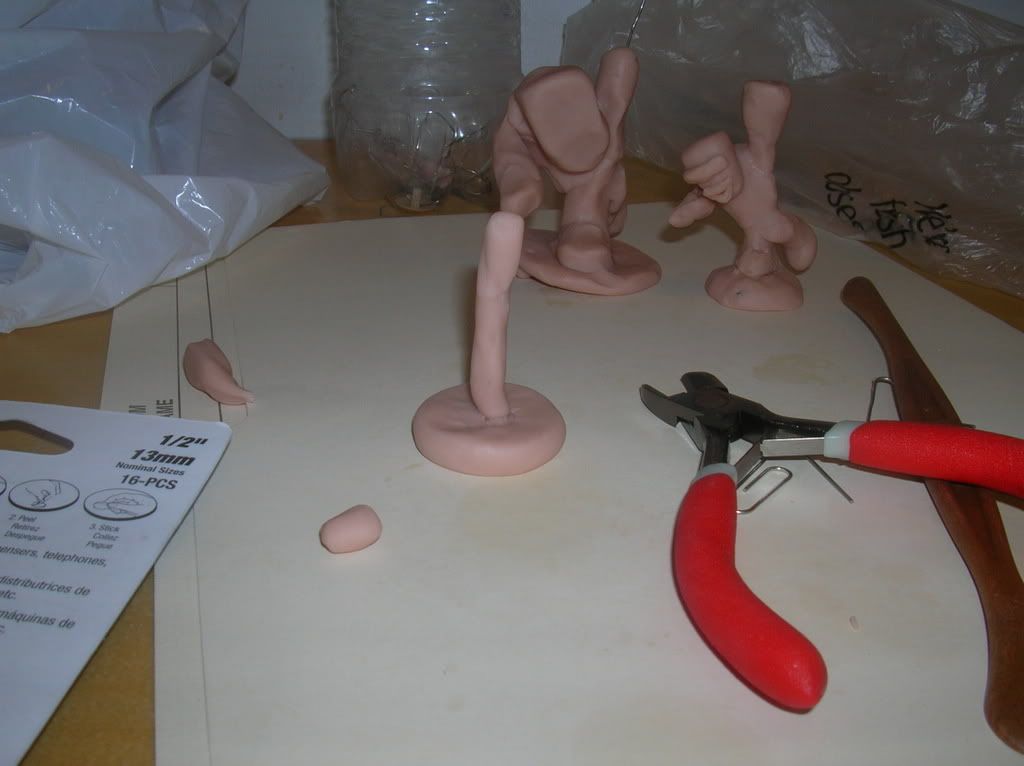
2. base piece


3. cover up wire


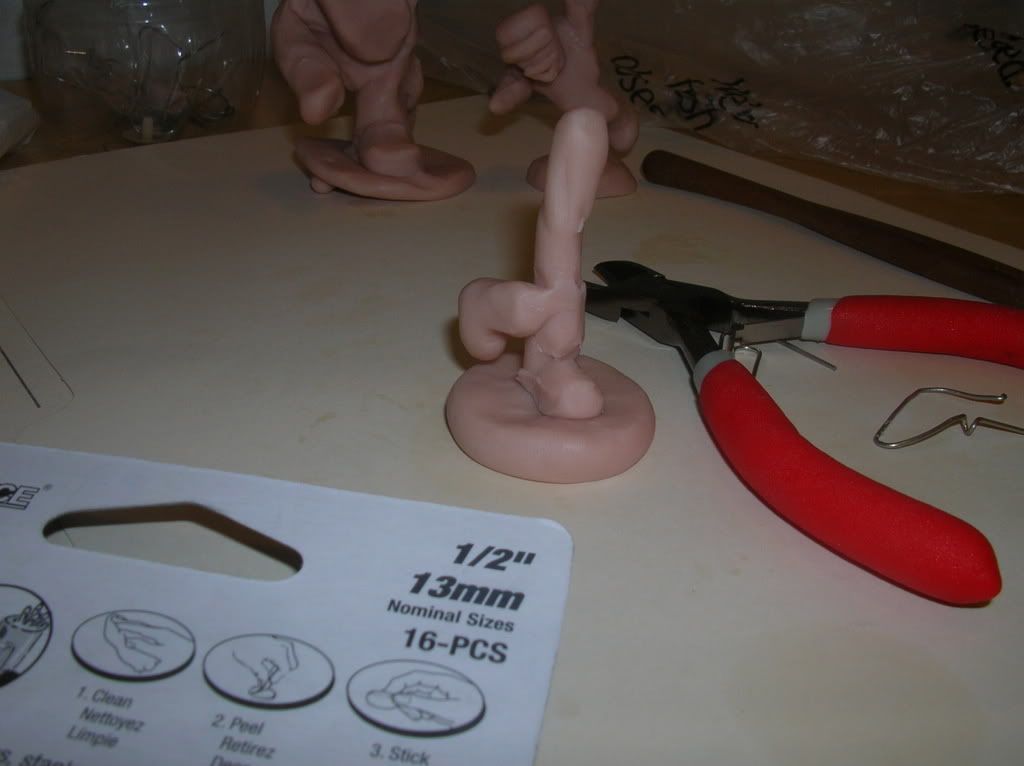
4. addition of foot and opposing leg


5. body piece


6. addition of head and other opposing arm + some face details - also widening base at top


i will obviously add more pictures of the addition of details as i get to that stage


things look promising - i will make some alterations to the style of these figures to get exactly what i am looking for - but all and all things are going better than i thought they would a few hours ago


still plenty of room for disaster tho - dont worry

1

Labels: , , , ,

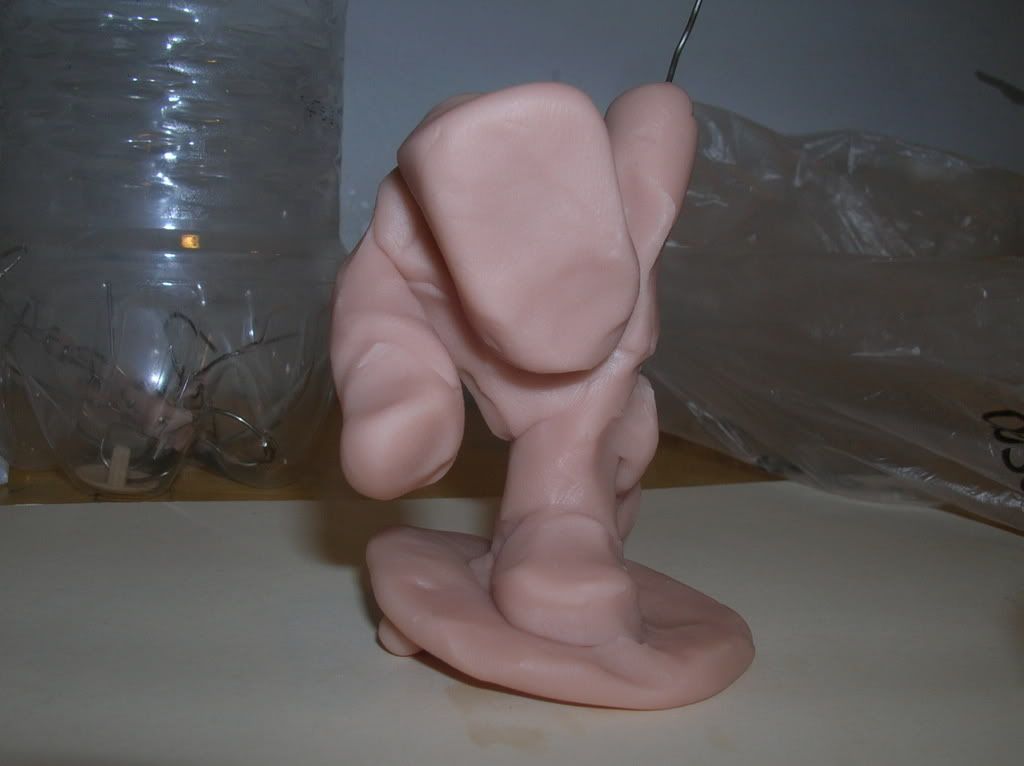
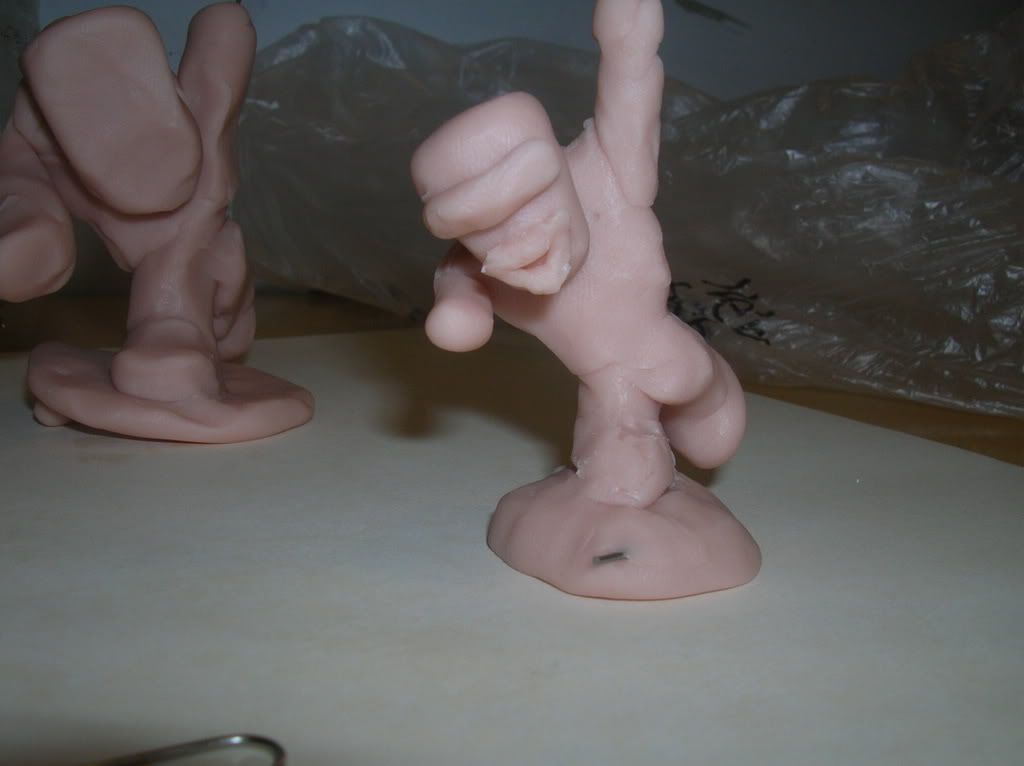
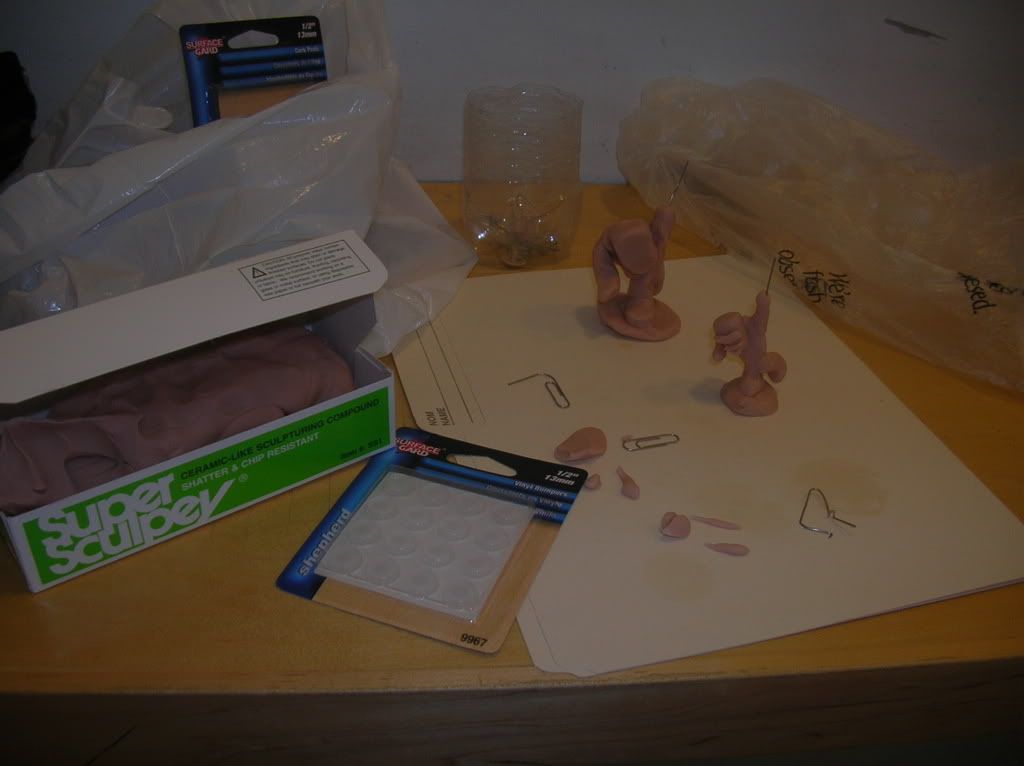
Toy Prototypes #1 and 2

here are the first prototypes i tried to put together in accordance with my sketch designs

you will notice that one is bigger than the other

i did that big one first to make sure that my design was feasible

this morning i got hit by a strike of inspiration while trying to figure out a way to make the characters stable but dynamic at the same time (dynamic is the word of the day)

so basically - the character is built around a central pillar which acts as the LEG and the ARM on the OPPOSITE SIDE OF THE BODY (ie - left leg, right arm)

this way there is a stable pillar, but i can make the character look like he is in motion rather than just standing still

also - one of the dudes in my class mentioned i might want to take that idea AND add some wire re-inforcement - which you will see in further detail in the next post


as you can see - this pillar design allows me to make the character look like he is running and gunning

Labels: , , , ,